The Foundation of Every ESO Trial Main Tank
Main Tanking in ESO is fundamentally different from dungeon tanking. In the context of 12-player trials, the Main Tank is responsible for handling the majority of boss mechanics, positioning enemies correctly, and absorbing most of the incoming damage, while working alongside 1–2 healers and an off tank, with the rest of the group built around damage dealers.
With the introduction of subclassing, building an effective ESO Main Tank has become more complex on the surface, simply because there are now far more viable options. However, in practice, subclassing has also simplified Main Tank setups in key ways. You can now reliably ensure full coverage of essential buffs, debuffs, pulls, and utility — regardless of your base class — while tailoring your setup to what your group is missing.
There is no single “best” Main Tank build for ESO trials. Successful Main Tanks adapt their gear, skills, and subclass choices based on group composition and encounter demands. Subclassing allows you to build around the role itself rather than being locked into one or two traditionally dominant classes.
This has also opened the door for lesser-used classes to find a place in trial groups. Even if a class lacks certain tools in its core kit, subclassing allows access to key skills from two stronger utility classes, making it fully capable of performing as a reliable Main Tank in veteran and hardmode trials.
This guide provides a flexible ESO Main Tank Build framework that works across all classes. It focuses on group optimisation first, supported by survivability and control, giving you a strong foundation that can be adjusted for different trials, mechanics, and team setups without rebuilding your character from scratch.
Playing the Off Tank role instead?
This guide focuses on ESO Trial Main Tanking. If your role is add control, secondary debuff coverage, and supporting the Main Tank, you’ll want the dedicated Off Tank build instead.

Main Tank Responsibilities in ESO Trials
In 12-player ESO trials, the Main Tank is the group’s anchor, leading pulls, controlling positioning, and handling the majority of incoming damage and mechanics.
Key Responsibilities
- Aggro & Control: Maintain taunts on bosses and priority enemies, ensuring dangerous targets remain focused on you at all times.
- Positioning & Leadership: Control boss facing, movement, and placement so the group can deal damage safely and consistently.
- Mechanics Handling: Manage heavy attacks, positional mechanics, and scripted trial mechanics that typically fall on the Main Tank.
- Survivability & Sustain: Prioritise health, mitigation, resistances, and reliable sustain to survive constant pressure in veteran and hardmode trials.
- Group Support: Provide buffs, debuffs, and utility through skills and gear that improve group damage, survivability, and sustain.
- Efficiency: Clean positioning and strong debuff uptime reduce fight length, lower resource strain, and minimise mistakes.
Core Essentials for an ESO Main Tank
Mundus Stone
The Atronach Mundus Stone is the most reliable choice for ESO trial tanking due to its Magicka Recovery. Maintaining uptime on taunts, buffs, debuffs, and utility skills is one of the biggest challenges for Main Tanks, especially in longer encounters. Increased Magicka Recovery allows you to cast consistently without over-relying on heavy attacks or external sustain.
Food Choices
Red Frothgar is the strongest all-round food for Main Tanks, providing high Max Health alongside Magicka Recovery. This combination supports survivability while maintaining reliable skill uptime in demanding trial encounters.
Smoked Bear Haunch, or the cheaper alternative Jewels of Misrule, trades some Max Health and Magicka Recovery (compared to Red Frothgar) for additional Health and Stamina Recovery. These options are better suited to experienced tanks who block efficiently and are comfortable managing incoming damage, which is often more difficult when Main Tanking trials.
Bewitched Sugar Skulls can be used situationally when larger Max Resource pools are needed, but it is generally less efficient than recovery-focused food for sustained trial tanking.
Potions
Essence of Health (Tri-Stat) potions are the standard choice for ESO trial tanking. They give additional recovery and restore all three resources, providing consistent sustain across long encounters, making them reliable for every class.
Minor Heroism potions are a strong alternative for experienced tanks in organised groups, offering increased Ultimate generation to support more frequent defensive or group-focused Ultimates.
Race Selection
Nord is the strongest overall race for ESO trial tanking due to its bonus resistances, Max Stamina, and increased Ultimate generation. These benefits directly support survivability, blocking, and Ultimate uptime across all tank classes.
Attributes
Placing all 64 attribute points into Health is the most consistent approach for Main Tanks. Trial damage and mechanics are often unforgiving, and higher Max Health improves survivability, damage shields, and burst healing effectiveness.
Stats to Aim For (Fully Buffed)
~40,000 Health
Provides a strong survivability baseline for Veteran, DLC, and Hardmode trials. Higher Health makes mechanics more forgiving and reduces the risk of sudden deaths from unblocked damage.
~20,000 Stamina
Stamina is required for blocking, dodging, breaking free, and movement. Around 20k Stamina is a comfortable baseline. More experienced tanks may run less with efficient blocking and strong sustain, but having extra Stamina is valuable during prolonged blocking or heavy mechanic phases.
Stamina should generally be higher than Magicka so resource-restoring synergies prioritise Stamina.
~15,000 Magicka
Most tank skills cost Magicka, but sustained casting is driven by Magicka Recovery rather than Max Magicka. Around 15k Magicka is sufficient for reliable trial tanking.
25k–33k Resistances
Resistances reduce all incoming damage. While the cap is 33,100, being capped at all times is not required. Older trials are more forgiving, but newer content applies heavy DoTs where high resistances become far more important.
Resistances matter most when taking unblocked damage or damage-over-time, as block mitigation does not reduce damage-over-time effects.
~2,000 Magicka Recovery
Around 2,000 Magicka Recovery allows consistent uptime on buffs, debuffs, and utility skills. Falling below this value noticeably impacts performance. Higher Magicka Recovery can also indirectly support Stamina sustain through skills that convert Magicka usage into Stamina returns.
Main Tank Gear Setup for ESO Trials
This baseline ESO Trial Main Tank setup is built around three things: strong group damage amplification, safer ultimate choices without losing Major Force, and real survivability when you’re the one eating the mechanics. It’s a flexible core that works across all classes, then scales up through swaps depending on what your group already has covered.
This ESO Trial Main Tank Build framework provides consistent group value while remaining adaptable for different trial compositions and difficulty levels.
| Piece | Set | Weight | Trait | Enchantment |
|---|---|---|---|---|
| Head | Nazaray | Medium | Divines/Sturdy | Prismatic Defence |
| Shoulder | Nazaray | Light | Divines/Sturdy | Prismatic Defence |
| Chest | Lucent Echoes | Heavy | Divines/Sturdy | Prismatic Defence |
| Hands | Lucent Echoes | Heavy | Divines/Sturdy | Prismatic Defence |
| Waist | Lucent Echoes | Heavy | Divines/Sturdy | Prismatic Defence |
| Legs | Lucent Echoes | Heavy | Divines/Sturdy | Prismatic Defence |
| Feet | Lucent Echoes | Heavy | Divines/Sturdy | Prismatic Defence |
| Necklace | Saxhleel Champion | Jewellery | Harmony/Infused | Magicka Recovery |
| Ring | Saxhleel Champion | Jewellery | Harmony/Infused | Magicka Recovery |
| Ring | Saxhleel Champion | Jewellery | Harmony/Infused | Magicka Recovery |
| Main Hand | Saxhleel Champion | Any 1H | Decisive | Hardening |
| Off Hand | Saxhleel Champion | Shield | Divines/Sturdy | Prismatic Defence |
| Main Hand Backup | Saxhleel Champion | Ice Staff | Infused | Crusher |
Gear Breakdown
Monster Set — Nazaray
Nazaray is taken for one job: extending your Major and Minor debuffs on enemies. As the Main Tank, you’re constantly applying key debuffs and standing closest to the boss. Nazaray helps keep those debuff windows active for longer, allowing the group to benefit more consistently during burn phases.
5-Piece Set — Saxhleel Champion
Saxhleel Champion is what makes this setup Main Tank-proof in real trial scenarios. It allows you to provide Major Force even when you’re not using Warhorn meaning you can run a safety Ultimate like Barrier (or other defensive Ultimates depending on class or encounter) without sacrificing a massive portion of group damage.
5-Piece Set — Lucent Echoes
Lucent Echoes adds two things that matter in trials: increased Critical Damage and Critical Healing for the group, and a very real layer of survivability for the Main Tank when pressure spikes. The below-50% health damage reduction effect is exactly the kind of “you’re about to die” buffer that saves pulls when mechanics overlap or mistakes happen.
Gear Setup Details
Gear Weights
- 5 Heavy / 1 Medium / 1 Light
Running 5 Heavy is essential for Main Tanking in trials, as you take the majority of incoming damage. Adding 1 Medium and 1 Light provides the Undaunted bonuses and extra sustain, giving the best overall coverage for survivability, resources, and passives.This setup offers the strongest balance for Veteran and Hardmode trial content.
Armor Traits
- Divines – Default choice when sustain is the priority, improving Mundus effectiveness (most commonly Magicka Recovery).
- Sturdy – Useful in encounters with heavy, sustained blocking. Reduces block cost and improves long-term sustain.
- Reinforced – Situational option for difficult Veteran and Hardmodes when reaching resistance cap is an issue.
Divines will be the correct choice in most scenarios, with Sturdy and Reinforced used as situational swaps.
Jewellery
- Harmony + Magicka Recovery – Best overall performance. Harmony quickly outperforms other traits with just two frequent synergies, and Magicka Recovery enchants consistently outperform cost reduction in trial tanking.
- Infused – Strong alternative when synergy uptime is low. Performs better than Harmony if synergies are infrequent.
- Prismatic Cost Reduction – Situational option if you regularly cast Stamina-based skills. Reduces the cost of all skills, but provides no value if you are not actively using Stamina abilities.
- Swift – Very valuable for add pulls and repositioning, especially when using gear-swap addons in trials.
Weapons
One-Hand & Shield
- Decisive + Hardening – Strong all-round option, increasing Ultimate generation while providing extra shielding.
- Infused + Weakening – Ideal when running without a dedicated healer, reducing enemy damage output.
- Absorb Stamina Enchant – Provides minor Stamina sustain when needed.
Ice Staff
- Charged – Best for add pulls, allowing reliable application of Chilled when using skills like Pulsar.
- Infused + Crusher – Mandatory for bosses to maintain maximum Crusher uptime and improve group DPS.
Situational Gear Swaps
Monster Set Alternative — Archdruid Devyric
Archdruid Devyric is a strong alternative monster set that applies Major Vulnerability to enemies. This is particularly valuable in groups that lack consistent Colossus ultimate uptime, as the Main Tank is always in an ideal position to apply the debuff to bosses.
However, Archdruid can be risky in trial environments, as it requires a fully charged Heavy Attack to activate. This can be difficult to execute reliably when handling frequent mechanics or during high incoming damage phases.
5-Piece Alternatives — Pearlescent Ward
Pearlescent Ward is an excellent option when group survivability is the priority. Some groups may already cover Major Force through other sources or run Saxhleel Champion on the Off Tank, making Pearlescent a strong alternative.
It provides a passive group Weapon and Spell Damage buff with no micromanagement, alongside increasing damage reduction for the group based on how many players are dead. This makes it particularly effective during progression, recovery pulls, or situations where the group is struggling to stay alive.
5-Piece Alternatives — Turning Tide
Turning Tide provides Major Vulnerability through a simple and reliable activation method: blocking an attack and following up with a bash. As the Main Tank, you are always positioned to take hits and remain close to the boss, making this debuff easy to maintain.
When combined with Archdruid Devyric, a single player can maintain near-constant Major Vulnerability uptime. This setup is generally only required when a group severely lacks Colossus ultimates, but it remains a strong and accessible option due to how easy it is to execute during real trial combat.
Subclassing for ESO Trial Main Tanks
Subclassing allows Main Tanks to combine the strongest defensive, sustain, and group-support tools across multiple skill lines. Instead of relying purely on your base class, you can now build around the role itself, stacking key passives, improving resource management, and covering essential group buffs and debuffs in one streamlined setup.
The most well-rounded framework for Main Tanking currently centres around the following:
- Arcanist – Soldier of Apocrypha: Forms the defensive backbone of most setups. Provides strong multi-use tank abilities, increased resistances and recovery, and valuable group support through Minor Evasion and layered survivability passives.
- Warden – Winter’s Embrace: Allows the Main Tank to provide Major Resolve to the group, apply Major Maim automatically, and gain additional block mitigation and defensive passives. Since other roles rarely use this line, it naturally fits the Main Tank.
- Dragonknight – Earthen Heart: Adds powerful sustain and utility through Ultimate-based resource return, Stamina sustain, and strong group buffs. This is currently one of the most efficient support lines for organised trial groups.
Other classes can still perform the Main Tank role effectively by replacing the Dragonknight line with their own defensive-focused skill line:
- Necromancer – Bone Tyrant: Strong Ultimate generation, increased Max Health, damage-over-time mitigation, and defensive tools suited for heavy trial pressure.
- Nightblade – Siphoning: Additional sustain, increased Max Resources, and multiple sources of Ultimate generation.
- Sorcerer – Daedric Summoning: Access to a Major Berserk Ultimate option, strong damage shields, reduced Ultimate cost, and incoming damage reduction.
- Templar – Restoring Light: Provides group healing, a cleanse synergy, and Ultimate support, offering a more utility-focused alternative.
ESO Trial Main Tank Skill Setup
Main Tank skill bars in ESO trials are built around coverage and reliability. Your primary goal is to ensure essential taunts, buffs, debuffs, and defensive tools are always active, while maintaining stable sustain under pressure.
Only once core group coverage is secured do remaining bar slots become flexible, used for additional defensive tools, sustain management, or encounter-specific mechanics.
With subclassing and scribing compacting many responsibilities into fewer skills, Main Tanks now have more freedom to optimise their bars without sacrificing core coverage.
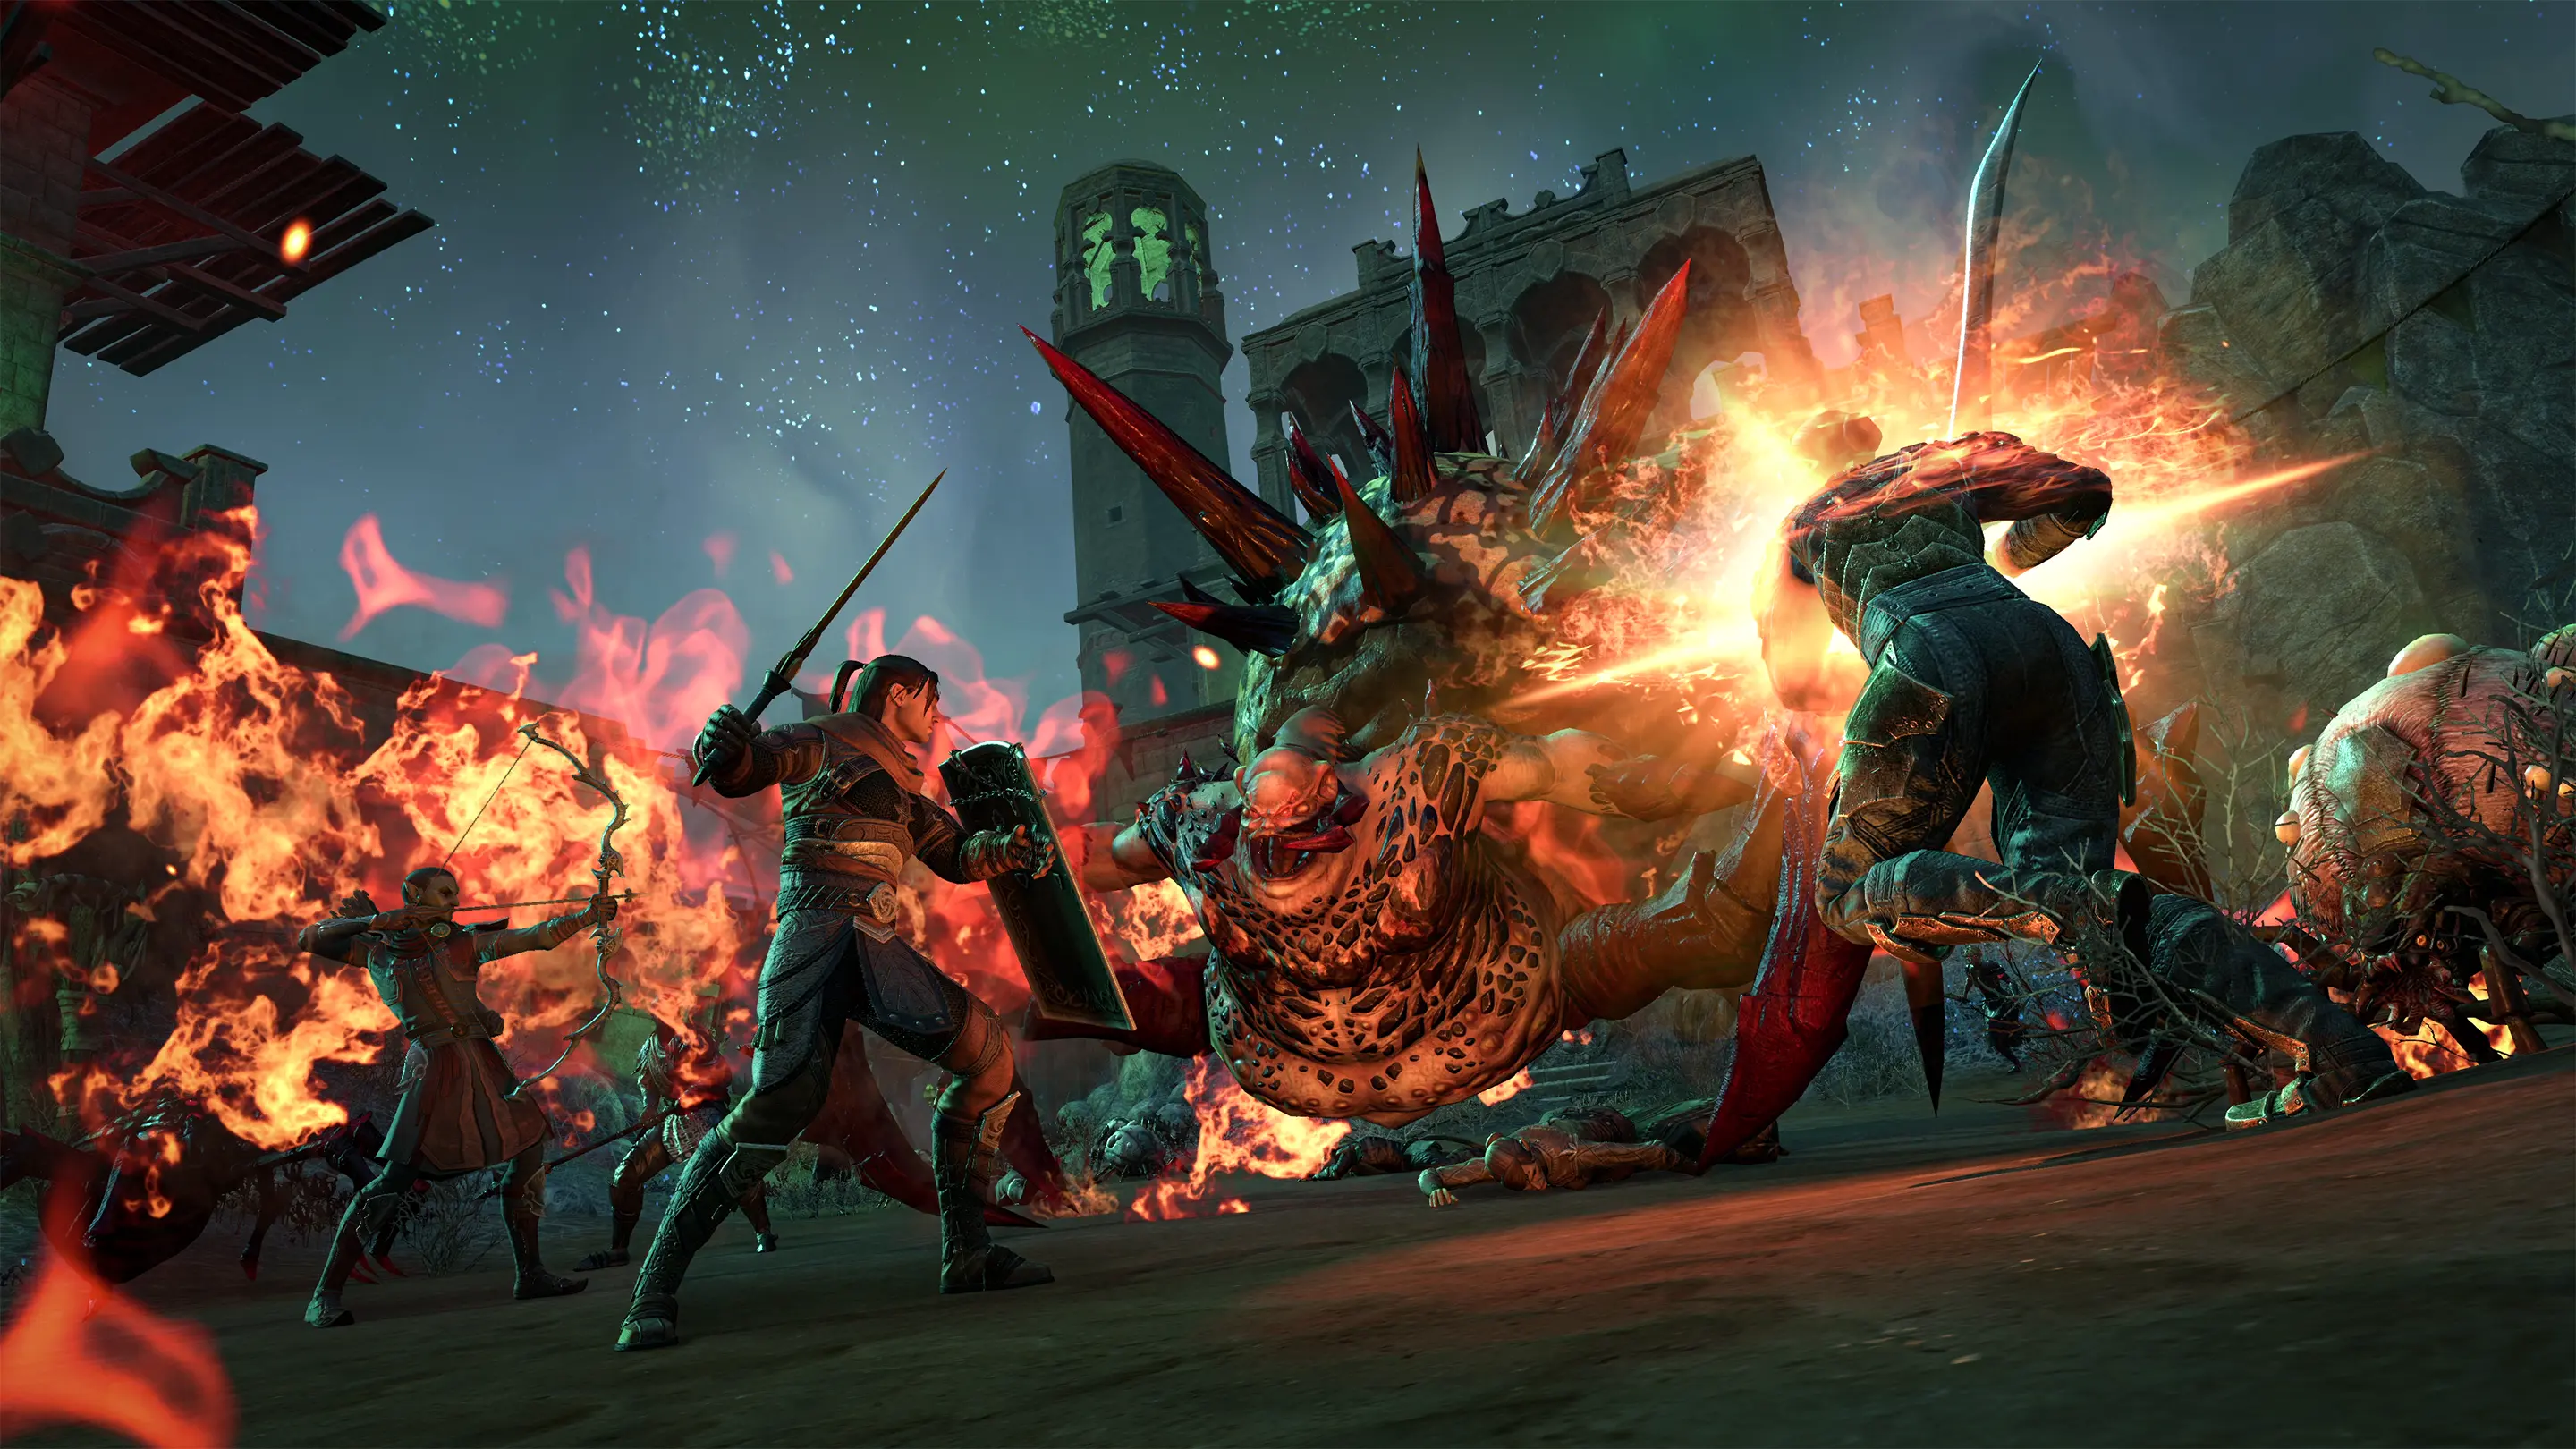
Main Tank Skill Information
- Goading Throw – Ranged taunt that also heals you and applies Major Maim, reducing enemy damage.
- Stone Giant – Enemy debuff that makes them receive more damage, boosting group DPS.
- Igneous Shield – Provides a damage shield for yourself and a smaller group shield, grants Major Mending, and should be cast before healing skills to increase self-healing effectiveness.
- Polar Wind – Strong burst heal with a self HoT that also heals an ally.
- Warding Contingency – Provides a Max Health-scaling group damage shield and grants Minor Intellect and Minor Endurance. Also provides an additional 8% damage reduction for personal survivability.
- Gibbering Shelter – Emergency defensive ultimate that provides strong mitigation, group shielding, and passive resource recovery.
- Leashing Soul – Pulls enemies together, restores Magicka and Stamina, and applies Major Cowardice to reduce incoming damage.
- Elemental Susceptibility – Free Major Breach with constant Burning, Chilled, and Concussion procs, enabling Minor Maim, Minor Brittle, Minor Vulnerability, Off Balance, and Minor Breach (with Blockade), while triggering Dragonknight sustain through Burning.
- Elemental Blockade – Maintains continuous infused Crusher enchant uptime, applies Minor Breach to Chilled enemies, and provides a projectile damage shield for the group.
- Expansive Frost Cloak – Grants Major Resolve to the entire group.
- Runeguard of Freedom – Passive defensive tool granting Minor Resolve and Minor Protection while slotted. Triggers a heal when under 50% Health. In trials, this morph is preferred for the additional armor and crowd control immunity.
- Replenishing Barrier – Provides a large group and self damage shield, restores Magicka, triggers Major Force when paired with Saxhleel Champion, and grants 10% increased Magicka Recovery from the Magicka Aid passive.
Other Skills
- Necrotic Potency – Consumes nearby corpses to generate Ultimate and a heal over time for each corpse consumed. While slotted, it also reduces damage taken.
- Siphoning Attacks – Converts Health into Magicka and Stamina when activated. While slotted, all damage you deal heals you and restores Magicka and Stamina once per second. Also generates 2 Ultimate every 4 seconds through the Transfer passive and increases Max Magicka and Stamina by 6%.
- Regenerative Ward – Provides a damage shield and a small heal, and grants Minor Intellect and Minor Endurance to nearby allies, increasing Magicka and Stamina recovery.
- Bound Aegis – Emergency defensive tool that significantly increase block mitigation while active. While slotted, it grants Minor Protection and Minor Resolve on both bars.
- Runic Sunder – Ranged taunt (rarely used for that purpose). Steals 2200 Armor from the enemy and generates Crux. Each Crux reduces damage taken, and consuming Crux generates Ultimate through passives.
- Unstable Clannfear – Provides a burst heal and unlocks Daedric Summoning passives, increasing Max resources by 5%, which benefits survivability and sustain.
- Charged Atronach – Ultimate that provides a synergy granting Major Berserk to the group, increasing damage done. Also applies Concussion, enabling Minor Vulnerability and triggering Major Force when paired with Saxhleel Champion.
- Extended Ritual – Heals you and allies over time, cleanses negative effects, and provides a Purify synergy for the group, grants Minor Mending through passives, and triggers a passive that generates Ultimate for group members.
Add Pull Skills
- Inner Rage – Ranged taunt that provides a strong group synergy, dealing Flame damage over time to the taunted enemy and additional AoE Flame damage to nearby enemies.
- Razor Caltrops – Applies AoE Major Breach to all enemies in large pulls and snares them.
- Pulsar – Applies AoE Minor Mangle and, when used with a Charged Ice Staff, guarantees AoE Chilled, enabling Minor Maim, Minor Brittle, Minor Breach (with Blockade), and granting Minor Protection to the group.
- Race Against Time – Mobility tool that increases movement speed and grants snare immunity. Particularly valuable in trials and speed runs for leading pulls.
Key Scribed Skills for ESO Trial Main Tanks
Scribing introduces powerful multi-purpose abilities that allow Main Tanks to combine sustain, debuffs, and defensive utility into fewer skill slots. This reduces bar pressure and makes it easier to maintain full trial coverage without sacrificing survivability or group support.
- Wield Soul
- Pull
- Druid’s Resurgence
- Cowardice
A highly efficient multi-purpose skill. Primarily used to chain in smaller adds while applying a taunt, it also functions as a strong sustain tool by restoring both Magicka and Stamina when cast. When used on bosses, it applies Major Cowardice, reducing enemy damage output.
- Shield Throw
- Taunt
- Sage’s Remedy
- Maim
A compact ranged taunt that scales with Max Health to provide a self-heal. It also applies Major Maim, reducing boss damage dealt. With Major and Minor Breach typically covered elsewhere, this skill allows you to replace traditional options like Pierce Armor or Frost Clench with a more efficient multi-use alternative.
- Ulfsild’s Contingency
- Damage Shield
- Gladiator’s Tenacity
- Intellect and Endurance
Provides a Max Health-scaling group damage shield while granting Minor Intellect and Minor Endurance for improved sustain. For the Main Tank, it also grants an additional 8% damage reduction, making it both a group utility tool and a personal survivability boost.

Champion Points for ESO Trial Main Tanks
- Ironclad
- Duelist’s Rebuff
- Bulwark
- Enduring Resolve (DoT damage fights)
- Unassailable (AoE damage fights)
You’ll typically flex between Enduring Resolve and Unassailable depending on the encounter.
- Boundless Vitality
- Fortified
- Rejuvenation
- Bracing Anchor / Ward Master (Boss Fights)
- Celerity (Add Pulls)
- Bastion (Increases Damage Shields)
- Shield Master (Reduced cost of Damage Shields/Barrier Ultimate)
Playing as a Main Tank in ESO
Main Tanking in ESO trials is about consistency, awareness, and control. Your positioning dictates how safely your group can play, your debuff uptime impacts overall damage, and your stability under pressure determines whether mechanics feel manageable or chaotic.
Trial performance as a Main Tank carries significant responsibility. You are often the first player to engage, the one handling the most dangerous mechanics, and the person absorbing the highest sustained damage. Learning encounter mechanics thoroughly and managing your resources effectively under pressure are just as important as your gear or skill choices.
With subclassing and scribing, Main Tanks now have more tools than ever to optimise coverage without sacrificing survivability. The role has evolved beyond simply surviving, it now requires intelligent setup, mechanical understanding, and the ability to adapt in real time.
Mastering Main Tanking is less about memorising a fixed build and more about understanding what your group needs in each encounter. Adjust your gear, subclassing choices, Champion Points, and skill bars accordingly, and you will consistently provide value in any trial environment.
Useful Links
- Explore more ESO Tank Builds
- New to tanking? Learn how to Tank in ESO
- ESO Tank Gear Guide
- Visit The Tank Club ESO Hub
- Looking for something new? Browse the Best Console MMORPGs for 2026
Support The Tank Club


