Tarisland Dungeon Tank Guide
Tanking in Tarisland dungeons is a critical role that demands strong awareness, strategic positioning, and defensive cooldown management. Without proper knowledge, even basic encounters can feel overwhelming.
This comprehensive guide covers the core mechanics of every dungeon boss, offering detailed strategies to help you navigate Elite Mode, with additional insights into Challenge Mode mechanics.
When tackling Arcane Realm dungeons, expect the same boss mechanics but with higher damage, added affixes, and increased difficulty. Without a solid understanding of these encounters, even the easiest dungeons can become major challenges.
Use this guide to prepare yourself, master dungeon mechanics, and confidently lead your team through Tarisland’s toughest PvE content.
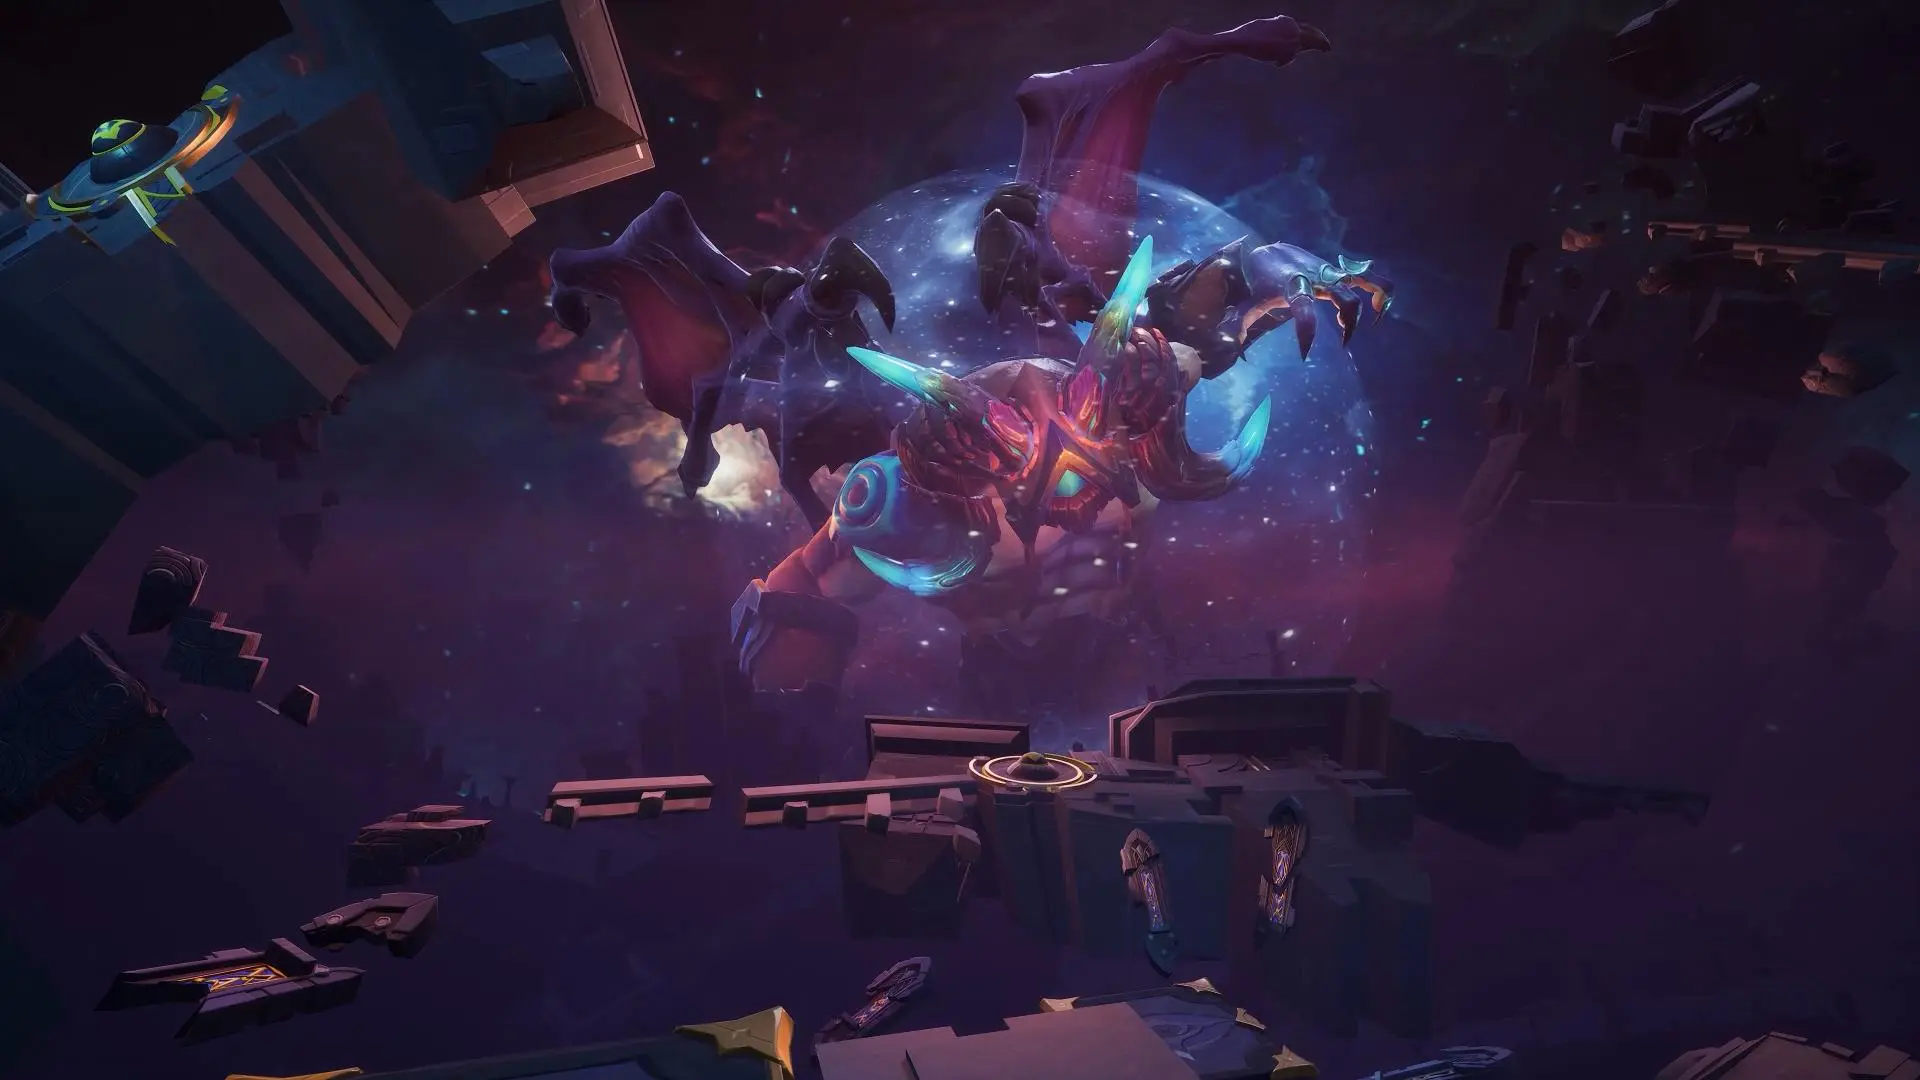
Tarisland Library of Chaos Dungeon
Boss 1: Silno
- Mechanics: Easy fight with minimal tanking specifics.
- Strategy:
- Avoid the large AoE placed by the boss.
- On first knockback, run to the room’s edge and circle around to dodge the wolves.
- During the match stage, focus on attacking the adds.
Boss 2: Satyug
- Mechanics: Requires strategic positioning.
- Strategy:
- Taunt and pull the boss to the room’s edge to free up space for your group.
- Stay close to the boss to easily move out of the cone AoE.
- Walk into orbs: Stage 1 (Earth), Stage 2 (Water), Stage 3 (Fire).
- Avoid AoEs under you and keep the boss stationary.
Boss 3: Bonacius
- Mechanics: Manage positioning and AoE.
- Strategy:
- Keep the boss in the room’s centre and stay away from teammates.
- Dodge the charge AoE and avoid the small orbs.
- During add phase, spam AoE skill for aggro.
- In the final phase, kite around the boss without moving it.
- Ensure no AoEs are behind you before knockbacks.
Library of Chaos Challenge Mode
- Mechanics: Increased health, damage, and a stacking debuff (Doomsday).
- Strategy:
- Doomsday stacks to 55 will kill you; remove stacks by walking next to Rift of Omen.
- Rifts spawn on a timer and have different mechanics based on colour:
- Grey Rift: Creates orbs to avoid, gaining more stacks if hit.
- Red Rift: Places an AoE under you five times in a row.
Tarisland Camp Carlyan Dungeon
Boss 1 – Boompike
- Mechanics: Avoid AoEs
- Strategy:
- Keep the boss in the center of the room.
- Dodge the large AoE.
- Avoid standing in the burning ground.
- Leave the cart derailing mechanic to the rest of the group.
Boss 2 – Redpike
- Mechanics: Avoid AoEs, manage Ammo box
- Strategy:
- Start with the boss in the center of the room.
- Dodge the AoE at your feet.
- The player with the orange AoE at their feet will have the Ammo box dropped on their location; drop it onto the cross-shaped beams in one of the four corners of the room.
- When the cross-shaped beams appear, move away from them or kite around them.
- The group should destroy the Ammo reload to prevent the boss from using it.
- When the boss starts spinning and dealing damage, move away quickly. Keep your distance and stand still, as moving increases damage taken.
Boss 3 – Reggiepike
- Mechanics: Avoid AoEs, manage Sneak phase
- Strategy:
- Hold the boss in the middle of the room.
- Step back to avoid the Blade Flurry AoE.
- Avoid the throwing blades by running around the edge of the room.
- Re-taunt/aggro the boss once the Sneak phase ends.
Tarisland Merfolk Swamp Dungeon
Boss 1 – Fraser
- Mechanics: Interrupt boss, aggro summons
- Strategy:
- Essential: Use an interrupt skill.
- Interrupt the boss when it casts Healing Potion.
- Avoid the Merfolk Assault.
- When the boss summons enemies, use AoE skills or AoE taunt to aggro them. Utilize mitigation skills as needed.
Boss 2 – Vidu Deep
- Mechanics: Avoid AoEs, reposition boss
- Strategy:
- Avoid single water AoEs.
- On knockback, stay away from the boss as it will fill the room with water AoEs; dodge them.
- Stay close to the boss for the rest of the fight to avoid additional AoE damage.
- Reposition the boss away from poisoned water areas. Avoid standing with your back to these areas to prevent knockback into them, which causes damage and applies a DoT.
Boss 3 – Kanros
- Mechanics: Position the boss, avoid AoEs
- Strategy:
- Pull the boss into the entrance doorway to create space for your group.
- Avoid the cone AoE.
- When adds spawn, leave them for your group to kill.
- When water bubbles appear near the boss, walk into them if the group is busy with adds.
Tarisland Forest Altar Dungeon
Boss 1 – Florena
- Mechanics: Avoid AoEs, share damage
- Strategy:
- Boss remains stationary in the center, so position yourself accordingly.
- Assist in attacking the worker bees when possible.
- Dodge the Spikeweed Root AoEs if they target you.
- Share the “Kiss of Death” (white pulsating AoE) with the group to mitigate damage.
Boss 2 – Bilmer
- Mechanics: Positioning and Electric Shock pillar management
- Strategy:
- Hold the boss between the pillars.
- Avoid the cone AoE.
- Encourage group members to stand behind the boss to prevent it from charging and breaking the pillars.
- When pillars become electric, WAIT! The boss will perform a Cone AoE. Afterward, move the boss to a lit pillar.
- Use the Electric Shock effect to remove the boss’s Berserk state.
Boss 3 – Kylin Lofeng
- Mechanics: Avoid AoEs and navigate mechanics
- Strategy:
- Face the entrance/stairs with the boss in the middle of the room to help with later mechanics.
- Avoid Lightning AoEs. They start with one and increase to three by the end of the fight.
- Dodge the green Wind Blade AoE, which can throw you into the air.
- For knockback mechanics:
- On the first knockback, move to the right to easily navigate the maze.
- On the 2nd and 3rd knockbacks, stay facing the entrance.
- On the 4th knockback, move to the right again.
- Navigate the maze by finding the gaps and reaching the boss. You can jump over the moving AoEs during the maze phase.
Tarisland Botanical Gardens Dungeon
Boss 1 – Axe Hardwood
- Mechanics: Positioning, add management, AoE damage, debuffs
- Strategy:
- Keep the boss in the middle of the room.
- Aggro the adds when they spawn.
- If you have the AoE around your feet, stand on top of the adds to deal significant damage to them.
- The boss deals damage and applies debuffs throughout the fight; rotate mitigation cooldowns and healing.
Boss 2 – Sanlis Greenleaf
- Mechanics: Interrupts, add management, beam mechanic, shared damage
- Strategy:
- Use an interrupt skill as it’s essential for this fight.
- This fight is primarily about managing adds. Aggro them with AoE skills.
- Face the test subject enemies away from the group.
- When a group member has a beam attached to them, the add will follow them and explode if not killed.
- Stack up to share the Thorn Rain damage.
- Interrupt Test Subject 55’s Piercing mechanic.
Boss 3 – Dread Colossus Type II
- Mechanics: Positioning, bomb phase, AoEs, traps
- Strategy:
- Stand under the boss.
- During the bomb phase, focus on the bomb under the boss.
- Move out of AoEs.
- Step out of the purple traps that appear. If needed, reposition the boss towards one side of the room and have the group focus on the bomb at the edge to create a safe space, especially if the middle is filled with traps.


