ESO Earthen Root Enclave Dungeon Tank Guide
Earthen Root Enclave is a challenging dungeon in The Elder Scrolls Online, introduced in Update 35 – Lost Depths. Located in the High Isle zone, this dungeon features three main bosses, each with a hardmode version, alongside three optional bosses that can influence the final encounter.
As a Tank, your role is critical in controlling enemies, mitigating damage, and managing key mechanics to ensure a smooth run. Whether you’re tackling this dungeon for the first time, aiming for a veteran clear, or pushing for a trifecta completion, this guide covers everything you need to know.
From boss mechanics and hardmode adjustments to positioning tips and group coordination, this guide will help you tank Earthen Root Enclave efficiently and effectively. Let’s dive in!
✅ Want to improve your tanking across all dungeons? Check out our ESO Dungeon Tank Build Guide!
Scalded Roots – Optional Boss 1
Attacks to look out for:
- Ground Based Fire AOEs: Much like Kinras Ironeye from Black Drake Villa or Stoneheart in Bloodroot Forge, this boss places fire AOEs on the ground wherever you are standing. Just walk out of them to avoid the DOT. If you have a healer, you can just stand in them without much issue.
- Frontal AOE Cone: Block this. Do not swing it into your group. They’ll die.
Adds/Mini-bosses Notes:
- Boss will light hands-on fire, raise them up, and spawn 2 fire wolves. They’re weak but probably should be taunted. Just don’t swing the cone while picking them up.
Mechanics tank is responsible for:
- Nothing special
Special Notes:
- Boss can be interrupted, but it doesn’t really matter.
Corruption of Stone – Boss 1
Attacks to look out for
- Heavy Attack/Heal Check: Getting hit by this puts a heal check on you, reduces your damage, and makes you take more damage. Unlike most heal checks, you can heal yourself out of this one. If you roll dodge the attack, the boss will become enraged, making all his attacks hit harder (not a big deal for you because getting hit by it also makes you take more damage). In non-hard mode, this isn’t really a big deal as your group needs to avoid his damaging mechanics anyway. If you can spam a couple self-heals or have a healer, take the hit. If your healer is dead and you don’t want to drain your resources healing yourself, roll it.
- Ground Smash: You can stand inside this and block. It doesn’t hurt that much. It will send out some rocks that will hit your group, but who cares about them? You’re a tank, and these measly pebbles don’t hold a candle to you.
- Ground Stomp: You can stand inside this and block the initial hit. Then you should kite the AOEs that happen after. Tell your group to stay away from you during kite, unless they like wiping. In that case, they can all stand around you and blow you up.
- Rock Tornado: At 30%, boss will do constant damage to everyone with a swirling tornado of rock shrapnel. You can’t do anything about it, so just close your eyes and go to your happy place.
Adds/Mini-bosses Notes:
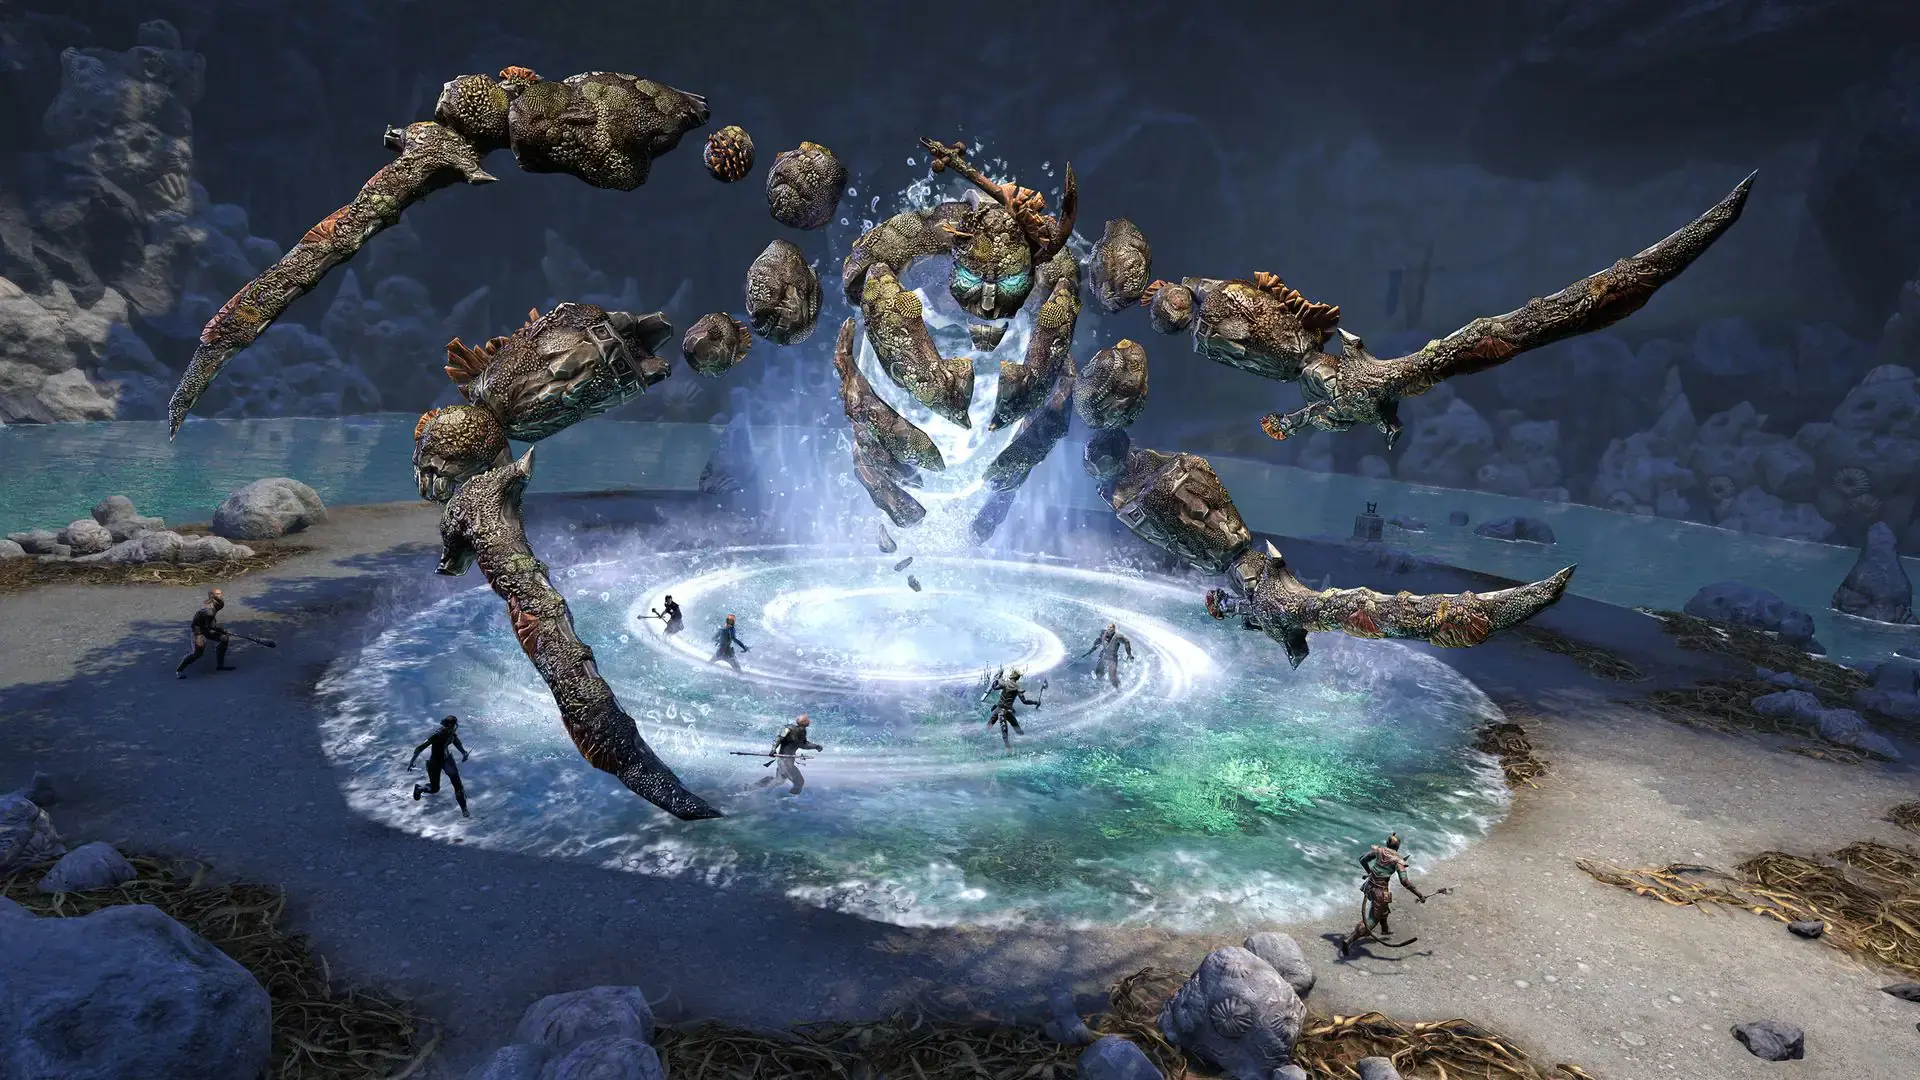
- Stone Atronachs come out after the “hide” mechanic at 80, 60, and 30%. They put a beam on somebody that progressively snares them until it eventually completely stuns them. The stun can be broken free of, but if the atronachs are interrupted, it breaks the snare. When the adds are up, hold the boss in the middle of the arena as the DDs and healer work around the room, killing them one at a time.
Mechanics tank is responsible for:
- At 80%, 60%, and 30%, boss will fly away (I don’t know how rock monsters can fly, but this is a fantasy video game, so whatever, I guess). Everyone in the group will follow you, the clear leader of the group, to hide behind the stone pillars that pop up. When the explosion happens, always run forward immediately (sometimes the next stone pillar will appear straight ahead and will be hard to see because it’s behind the boss, so get moving early) and then veer left or right depending on where the next pillar pops up.
- Call out “kite” when the ground stop happens. DDs are notoriously simple minded and will probably die if you don’t yell at them all the time.
Additional mechanics tank should be aware of:
- Applying breach to the stone atronachs. A ranged ability such as elemental drain or a class ability that applies breach will allow you to do this while keeping the boss away from everybody. Depending on your group, this may or may not be your responsibility, but you should be aware of it in case it is.
- Interrupting stone atronachs. Your DDs will probably be killing the atronachs one at a time, so it is either up to you or the healer to get interrupts on the atronachs they aren’t killing. Since many healers get carried through content and don’t know what they’re doing, you may have to take on this responsibility, so make sure you have “Crushing Shock” available.
Special Notes:
- If you did the first optional boss, there will be a red orb you can synergize. Grab it every time it’s up so you can do some additional damage to the boss.
- After the 30% “hide” phase, assuming your DDs aren’t fake, the stone Atronachs can be ignored, and the boss can be executed. If they are fake, re-evaluate your poor life decisions because you aren’t getting past this boss, and even if you did, why would you want to continue?
Corruption of Stone – Boss 1 Hardmode
Notes:
- All attacks and mechanics are identical to non hard-mode, just stronger.
- Try not to roll dodge the heavy attacks because the boss’s AOEs will hit much harder.
- You pretty much have to go for a straight execute after the second “hide” phase (30%), as the damage output and sustain requirements are probably too great to deal with for extended periods.
Luta – Optional Boss 2
Attacks to look out for
- Spirit Bomb: Okay, it’s actually just a sphere of water over your head. It will float above you for a few seconds, then it’ll float down until it integrates itself with your very being. Just block it when it comes down. You didn’t consent.
- Lightning Swirl: Boss will put lightning AOE donuts on the map, including one around herself. You are pretty much going to be stacked on the boss anyway because you’re a tank, so just stand there like normal and these won’t hit you.
That’s it. That’s the whole fight.
Corruption of Root – Boss 2
Attacks to look out for:
- Triple-Tree AOE: It’s cool ‘cuz it rhymes. Three trees will send AOE circles towards you throughout the whole fight. Just keep blocking.
- Plant Meteors? Some AOEs drop from the sky and hit the ground with a large sound. They don’t really hurt though, so whatever.
Adds/Mini-bosses Notes:
- Faun: These should be taunted and debuffed. When they start channelling, you DO NOT need to interrupt them. This gives you more time to kill them before they jump into a tree and become one with nature. If the faun is not killed fast enough, it will possess a tree, and your DDs will need to become exorcists.
- Possessed Tree: The tree shoots out AOEs that do mild damage. Once the evil tree has come back to the light, it’ll just be a normal, peaceful tree again that produces oxygen for all of Tamriel. Also, the faun will be projectile vomited out and can be killed.
- Graft-Root Senche: Wherever these things are killed, they leave behind a big AOE of roots for the rest of the fight. You can try to place them by pulling them where you want them before they die, but it’s no big deal if you don’t. The AOEs can easily be walked around.
- Distributaries: Around 70% and 40%, the boss will be split into three mini-bosses. They do similar things to main boss.
Mechanics tank is responsible for:
- Taunt things.
- Don’t die.
- Breach the minis.
Additional mechanics tank should be aware of:
- If you did both optional bosses, you’ll not only have a red orb, but also, you’ll have a blue orb you can synergize that greatly reduces damage.
Corruption of Root – Boss 2 Hardmode
Notes:
- All attacks and mechanics are identical to non hard-mode, just stronger.
- There will be 3 Graft-Root Senches per phase instead of 2. There will be a Graft-Root Bear each phase as well. Because there are more adds, there will be more AOEs when they die. Be careful where you place them so you don’t muck up the arena.
- It is much more important that nobody interrupts the faun because the hard mode evil trees hurt more. Save ultimates for when they spawn so they can go down fast while the boss is taking cleave.
Jodoro – Optional Boss 3
Attacks to look out for:
- Weird Indrik Sound Attack: Okay, I made this up, but they make weird sounds, and it can distract you.
- Green Unicorn Horn Blasts: Shoots a beam at everyone in front of it. Turn indrik away or, if you are too lazy to do your one job, have DDs stack behind the boss
- Green Spectral Indriks: Boss will send out spectral indriks at you. They hit like a truck, a toy truck, that is.
- Overhead Green Beam: Ole’ Jodo will shoot a laser at everyone that does big damage. Just keep moving when it’s out and then revive your dead friends when they inevitably don’t do the mechanic.
- Green Lightning: After the boss teleports to the other side of the room, it’ll send out a bunch of lightning strikes on everyone. This can and should be interrupted.
Special Notes:
- Boss seems to always teleport to the opposite side of the arena, so it should be easy to find.
Archdruid Devyric – Boss 3
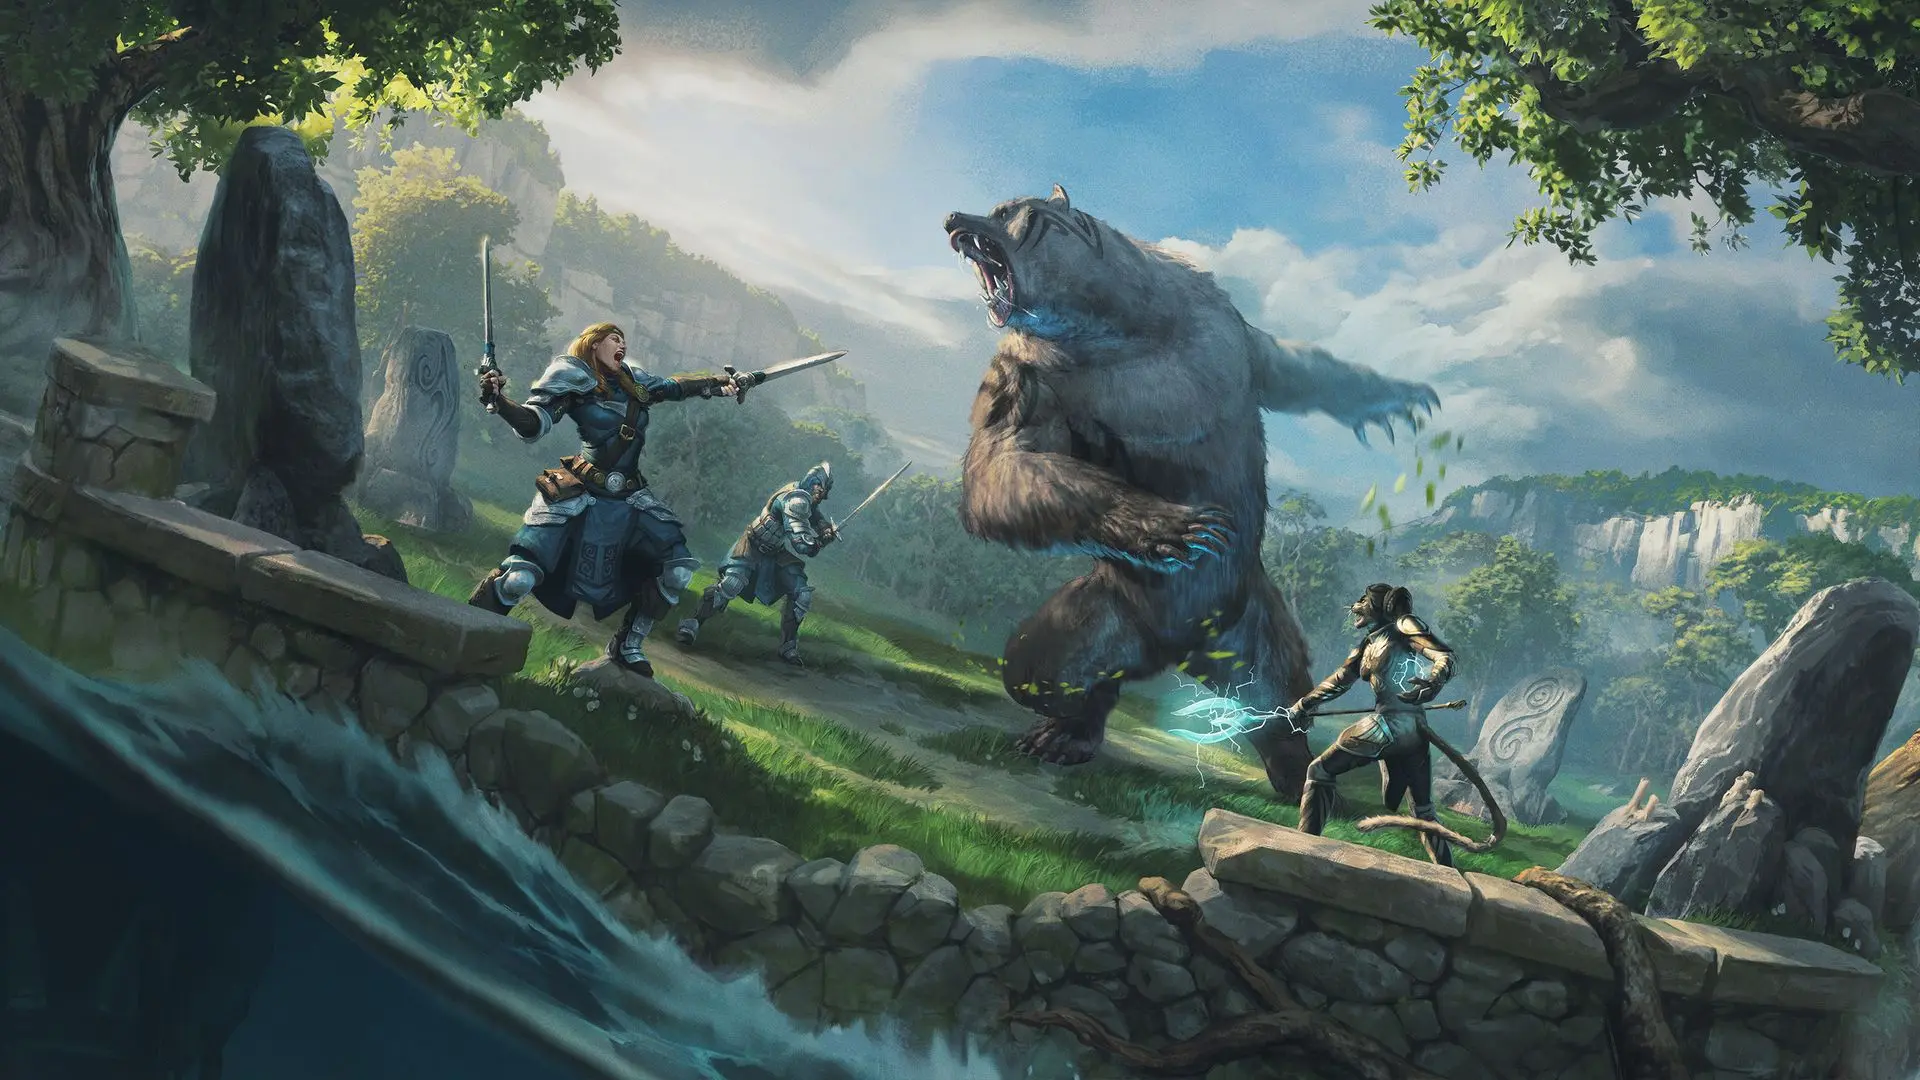
Attacks to look out for (Weak Human Form):
- Weak Heavy Attack: Disappointingly weak heavy attack. You probably should still block it though.
- Weak Ground AOEs: They barely hurt.
- Exploding Pillars: Pillars will spawn around the arena. After a short time, they will start growing a large AOE around them. These actually hurt a lot. Either get out of the way completely, or at least make sure you only get hit by one of them. When they explode, they also send out some shrapnel. DDs should probably block or something. I don’t know. I’m a tank.
- Lightning AOE: After first bear form, he’ll gain a new ability where he can send out lightning shockwaves from his body. Bad for DDs. No big deal for you.
Attacks to look out for (Less Weak but Still Weak Bear Form):
- Weak Heavy Attack: Probably a little stronger than human dude. Still weak.
- Heavy Attack, now with Lightning! During second bear transformation, his regular heavy attacks will now come with a lot of lightning splashes in rapid succession. They’ll hit your whole group and hurt everyone who isn’t a tank A LOT. Sucks to not be a tank.
- Ground Pound AOE: Giant AOE circle. Hits like a noodle, al dente.
- Bad Breath: This is the only real danger, but only if you forget that you can just easily heal your way through it while blocking. Novel idea, find a healer who can do minimal healing and you don’t even need to heal yourself.
- Exploding Pillars: Same thing as above, but the boss is a bear. He’ll roar right before the explosion, and right after that is when the shrapnel gets shot out.
Adds/Mini-bosses Notes:
- Lightning Pillar: Boss will throw lightning pillars. Breach them and pull boss into cleave if you want. They shoot out lightning until they’re killed.
- Exploding Wolves: Why are wolves always exploding in this game? Why not kittens? Anyway, wolves typically won’t target you unless everyone else is dead. A mark will be put over your head if you are targeted, then one wolf at a time will charge in and explode. Should be blocked to minimize damage.
Mechanics tank is responsible for:
- Turn bear away from the group during breath attack, unless you want to teach one of them a lesson.
- Breach the lightning pillar if nobody else is able to.
- You can call out “block” for your DDs and healer when the wolves are about to charge in and explode, or you can just be standoffish and hang out far away from everyone else, doing your own thing like your glory days in high school.
- You can also call out block during lightning splash heavy attack.
- Lead a philosophical discussion as to whether Drusilla is a sorcerer or a warden.
Additional mechanics tank should be aware of:
- Bear Dru will telegraph with a red line that he is going to charge at somebody (if everyone else is dead, he’ll charge at you). This should be taken through the pillars so they get destroyed. This prevents them from having the big AOE explosion.
Special Notes:
- The Drusalugg will transform into a bear around 70% (he regenerates to 80% health once transformed). Burn him to 45% and he turns back. He will then transform again at 20% (regenerating to 40%).
- If you killed all 3 optional bosses, you can now also synergize the green orb. It gives you 10% movement speed, 100% Mag and Stam recovery, and, when you roll dodge, summons an Indrik to heal your friends and do damage. Yowza!
- Just like the first boss, once you get to the final phase, it’s best to just execute if you have the damage for it.
Archdruid Devyric – Boss 3 Hardmode
Notes:
- Human form is still super weak
- Lightning pillars are created more frequently, and there are 8 exploding wolves per phase instead of 3
- In bear form, the lightning breath hits like an actual truck.YOU CANNOT ROLL DODGE THIS. Make sure you are fully buffed, and, if your healer is distracted by online dating apps, you should spam your own heals or damage shields while blocking.
- If your group has the DPS for it, ignore lightning pillars during first bear transformation and go full ham on the boss. If you can push from 80-45% quickly, you will trivialize the transformation. The lightning pillars can be dealt with after. If the group DPS isn’t good enough or somebody dies, this is going to be a long fight, and the lightning pillars will have to be prioritized.
- During the 2nd bear transformation, do the same thing. Just stack and burn. If you have a good healer and good enough DPS, you can ignore all the other mechanics.

