


ESO Scrivener’s Hall Dungeon Tank Guide
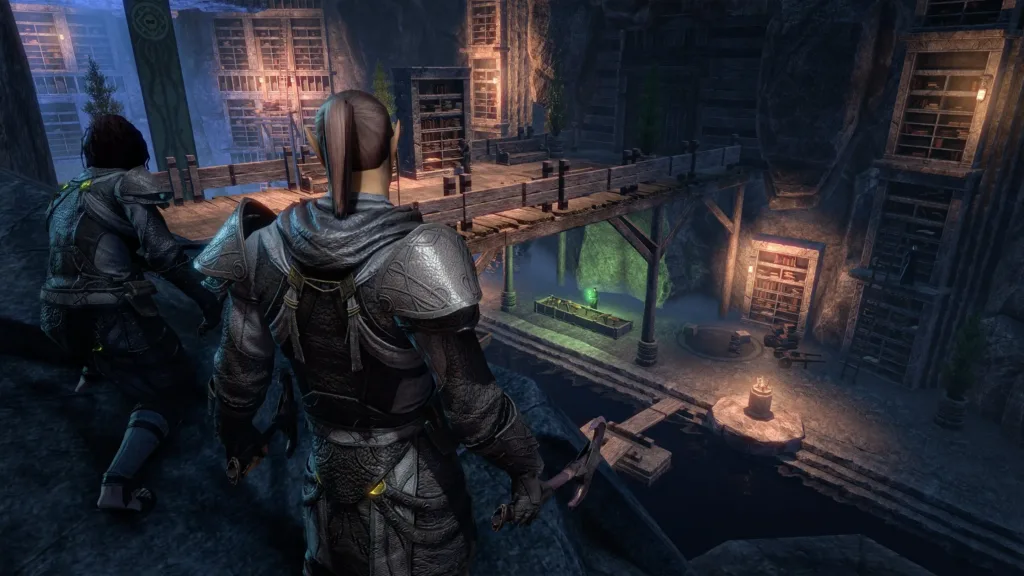
Scrivener’s Hall, introduced in Scribes of Fate (March 2023), is one of Elder Scrolls Online’s most intense dungeons, located in The Rift. This dungeon features three main bosses, each with hard mode variants that test your tanking abilities to the limit.
As a Tank, your job is critical—maintaining aggro, controlling dangerous adds, mitigating boss mechanics, and ensuring your group avoids lethal AoEs. Whether you’re leading your team to their first clear or pushing for a flawless trifecta run, this guide will prepare you for every encounter.
Let’s break down each boss fight and ensure you’re ready to tank Scrivener’s Hall like a pro.
✅ Want to improve your tanking across all dungeons? Check out our ESO Dungeon Tank Build Guide!
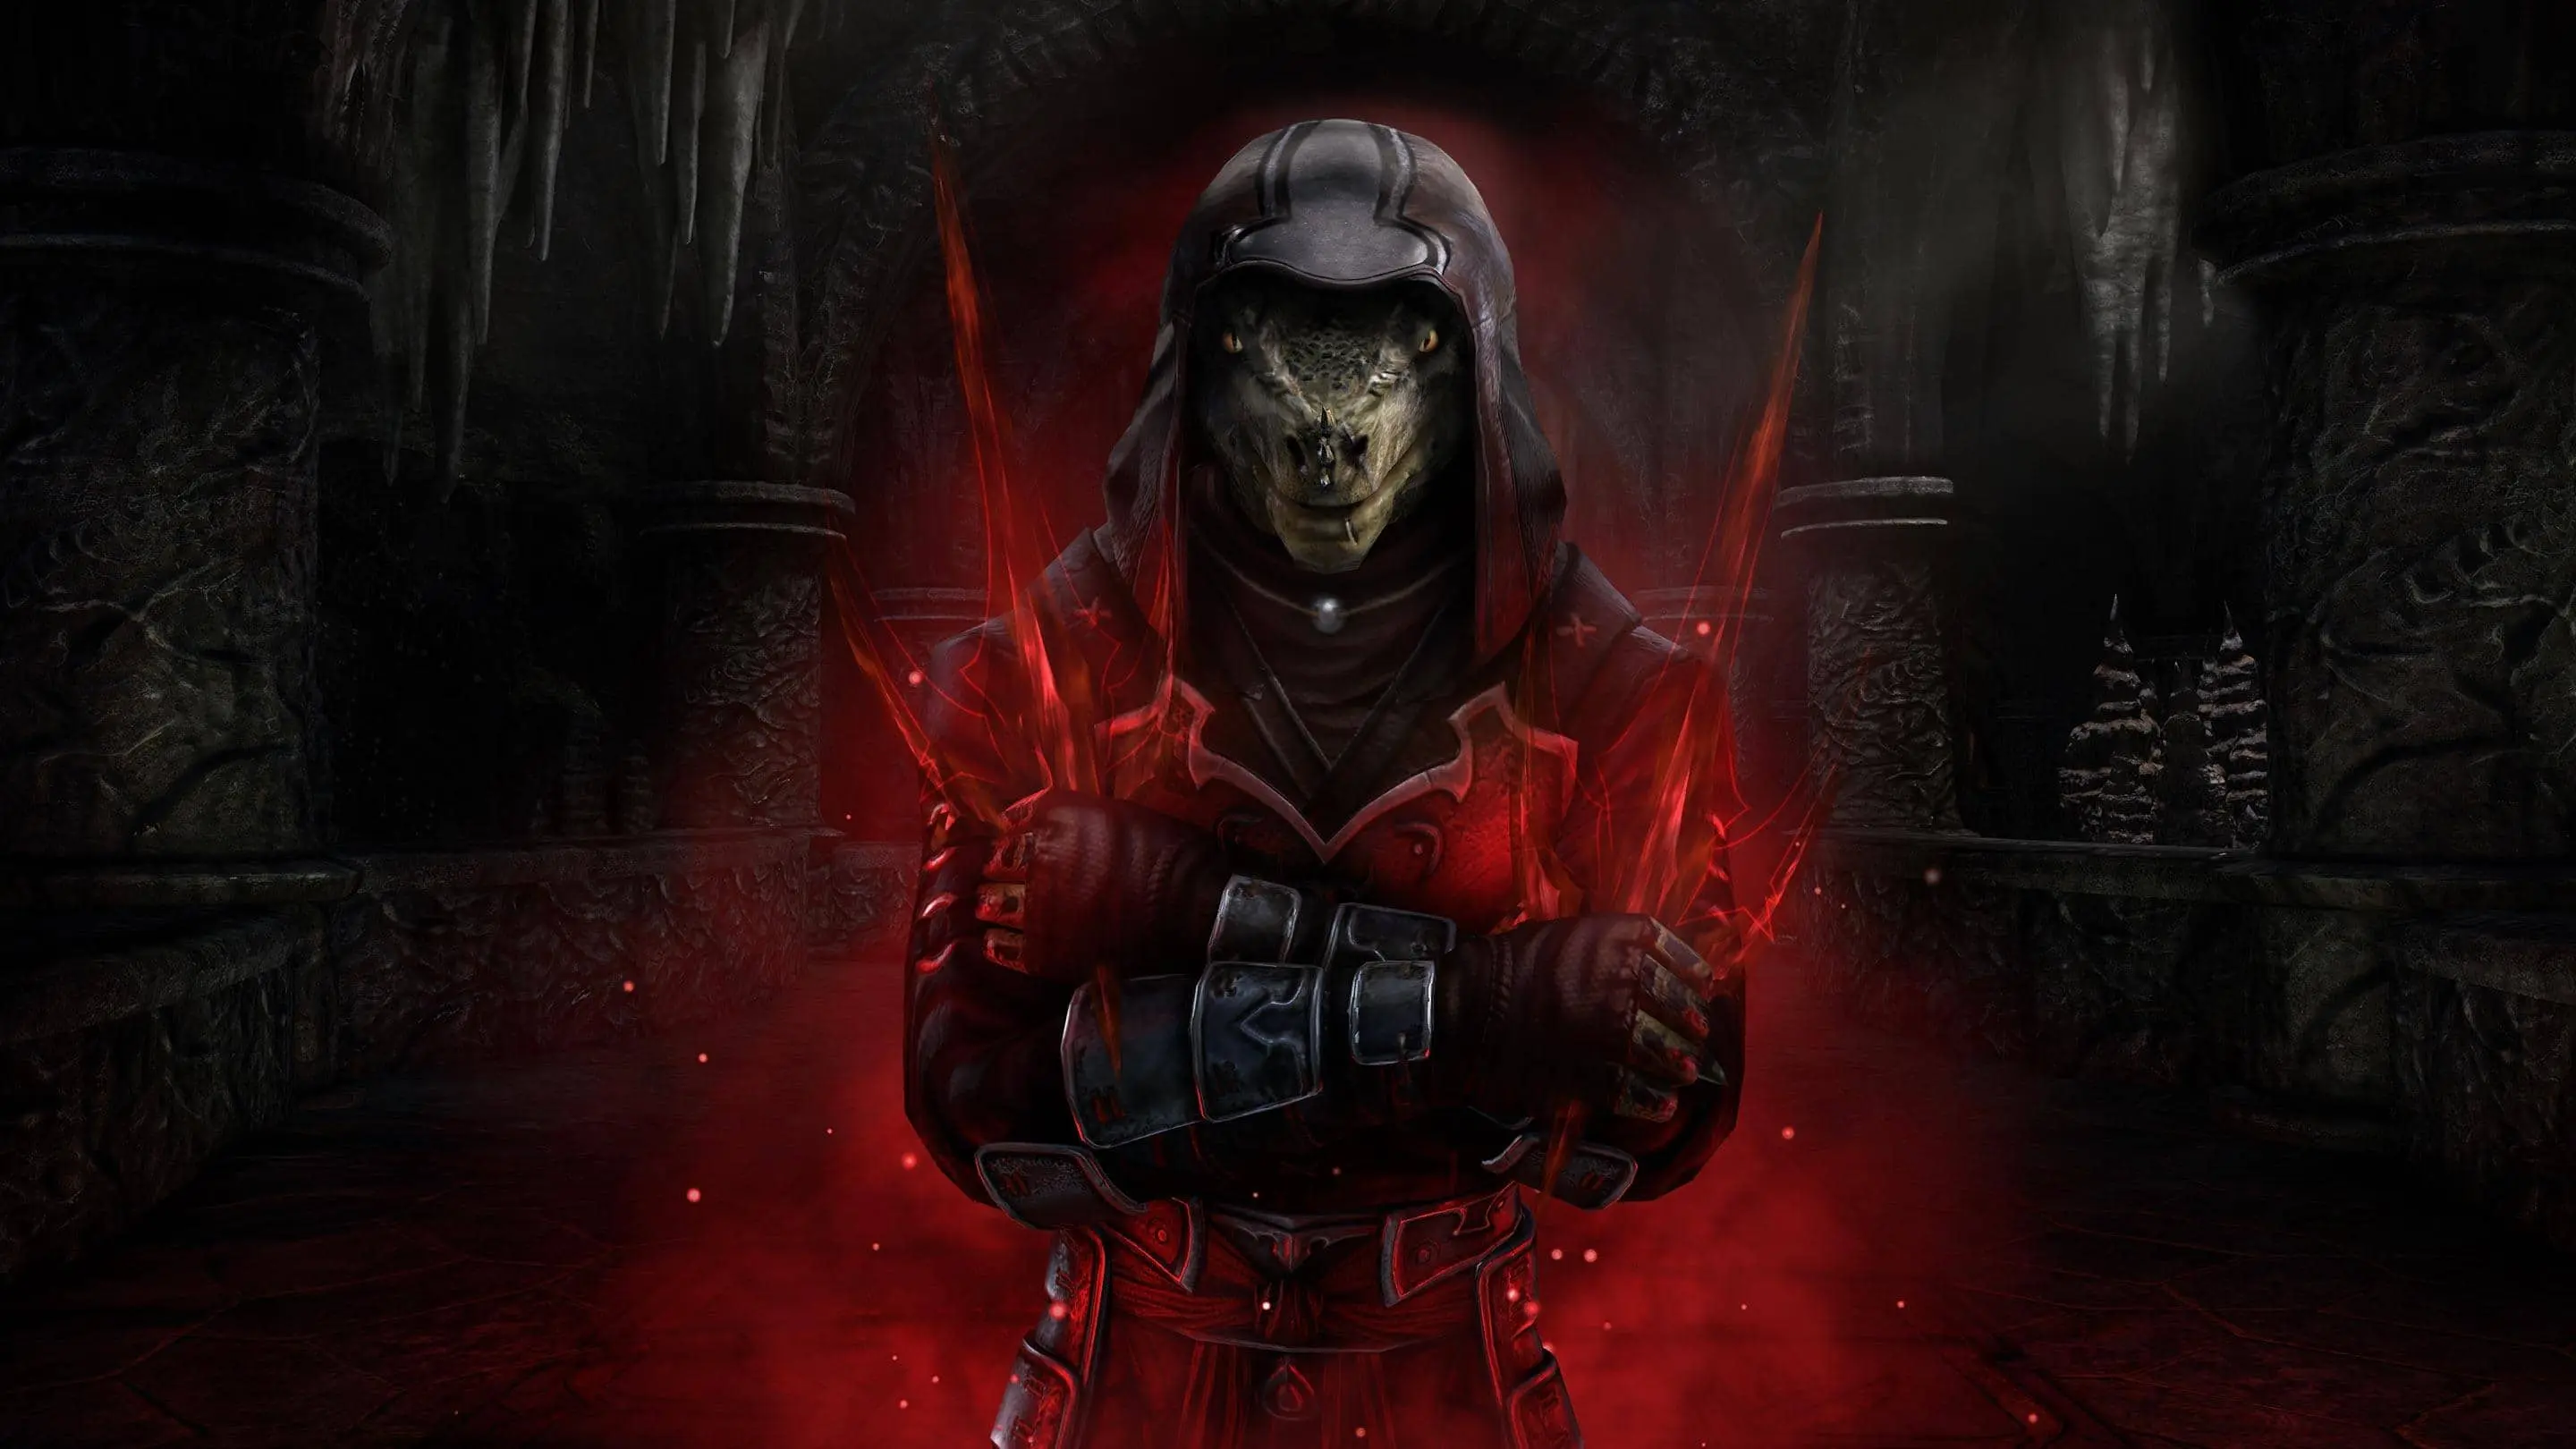
Riftmaster Naqri – Boss 1

Having the most misspelled boss name on online ESO guides (seriously, it’s neither Ritemaster nor Maqri), this boss is just a copy/paste of Joe Goldberg from You. He loves books and murders people. Maybe this is actually a crossover between You and ESO. We can call it ESOYou. Pretty sure that’s not taken yet.
Attacks to look out for
- Super Slow Heavy Attack: This is really slow and doesn’t hurt that much if you block it. It hits way harder on hard mode, so if you want to practice roll dodging it, regular vet is the place to do it.
- Booknadoes: Like everyone’s favourite movie, Sharknado, a booknado is just a tornado with a twist… wait… But seriously, it’s just a tornado made of books. It places an AOE on the ground and sends out AOEs in an outward spiral. Just stand there and take it like a tank. You’ll be fine.
- Summon Book: Glowing Books are summoned at around 85%, 55%, and 35%. The books send out two orbs to two random places in the library arena (the librarena). As the tank, you don’t need to worry about these, but the DDs in your group (damage dealers, not the busts of sexy librarians) need to track down the books (by following the trajectory of the orbs) and interact with them. This will make the books go away.
- Teleport and Summon Exploding Book: Boss will teleport across the map and place down an AOE circle with a book over the top of it (this guy is seriously a one-trick pony). A high pitched tone will sound, and then BOOM! As the tank, you should stand in the circle (think Dread Cellar final boss) or the explosion will result in many deaths.
Adds/Mini-bosses Notes:
- Battlescribes: They appear throughout the fight. Chain them in and keep aggro if you feel like being useful.
- Glowing People: When a book is summoned, an icon that is the colour of the book will appear above the boss’s head at regular time intervals. This will summon a glowperson of the same colour. If the glowperson is red, you should bash it when it appears to avoid damage. If the glowperson is gold, you hold block (joke’s on you gold glowperson, I’m a tank!) If the gloperson is green, you roll dodge. If you do absolutely none of these things, you’ll be fine. It’s the other people in your group that need to do them, especially since the DDs will be outside of heal range as they are out on their scavenger hunt.
Mechanics tank is responsible for:
- If your DDs and Healer have poor situational awareness, you can pull the boss out of the booknado, and hopefully they won’t stand in the AOEs.
- The adds don’t do much, but they are pesky during the book scavenger hunt. Chain them in so they are taunted and die in cleave.
- Call out what mechanic is occurring (block, roll, or bash) to make it easy on your friends who can’t follow on-screen prompts.
- Jump in the exploding book AOE before it kills people.
Riftmaster Naqri – Boss 1 Hardmode
Differences
- Everything hurts a lot more. Boss has more health.
- During the exploding book AOE phase, there will be two circles. The healer should be responsible for jumping in the other one
- Because healers are known to lack a sense of direction, it will be helpful for you to mark the boss with a skull at the beginning of the fight. That way, they can jump in the circle on time.
Riftmaster Naqri – Boss 1 DOUBLE Hardmode
Boss 1: Double Hard Mode
After raising the banner, burn the blue glowing book. This is unnecessary to get the trifecta, but it gives you a side achievement that will determine whether or not you lead a successful life.
Differences: Everything hurts more than regular hard mode. There might be other things, but I didn’t notice them.
Ozezan the Inferno – Boss 2

Attacks to look out for:
- The Floor is Lava: Early in the fight, Ozezan goes underground and summons a giant AOE lava pool. This happens throughout the fight, but it’s one of its first few moves. Therefore, when you taunt initially, get as close to the wall as possible so this is out of the way, as the lava pools stay on the arena for a very long time. Before the lava pool is placed, a growing AOE will appear on the ground. Everyone should jump up on the nearest piece of furniture to avoid the explosion and subsequent lava. Also, the lava shoots out lines of fire throughout the fight, not that it matters that much.
- Beam: After spawning the lava pool, the boss will come up out of the ground on the opposite side of the arena. Shortly thereafter, it’ll put a beam out that targets each player. Everyone should outrun/roll dodge the beam.
- Summon squishy bugs that make you fast: Boss will shoot out some green larvae from their non-binary, asexually reproducing back. A maximum of 2 larvae can spawn into an enemy called “Evolved Broodling.” DDs can go step on these to gain 10% movement speed, stackable many times over, for a few seconds. Stepping on all the larvae will prevent the Evolved Broodlings from hatching, but this is a waste of time. ESPECIALLY ON HARD MODE. Don’t do it.
- Conal Spew: Boss spits on you and anyone near you. Face it away from the group and block.
- Suction, and not the good kind: The second time (if you do a reasonable amount of damage, that is) ole’ Inferno puts out a lava pool, they will spawn in the center of the arena. Everyone should make it to the outside wall, as Ozezan will try to suck you all into their giant wormy mouth. If you are outside enough, the suction will end before you reach the burning center of the room.
Adds/Mini-bosses Notes:
- Evolved Broodlings: They do a lot of light attacks. They also shoot out fireballs at everyone when far away.
Mechanics tank is responsible for:
- Place the first lava pool as close to the wall as possible
- Taunt all the adds
- Turn the boss away from the group when it spews
Ozezan the Inferno – Boss 2 Hardmode
Differences
- Lots of Evolved Broodlings spawn instead of just 2. Taunt them as they come in. They should die in the cleave.
- An Iron Atro will spawn around 25%. Taunt it and keep aggro on it until the boss dies.
- Blood Boil: A red beam or tether will hit everyone. It’s a HUGE heal debuff and a big DOT. Bring a good healer and make sure you know how to sustain. Can be roll dodged.
- Green blob monsters will also appear throughout the fight if you don’t roll dodge the blood boil. Taunt them to keep them off your DDs and Healer… except that one person who has a goo fetish. He can keep one around for… activities.
NOTE: DO NOT pay attention to any guides online that tell you to follow the mechanics where you need to squish the bugs to prevent the adds from spawning. This is a waste of time, makes the fight way harder, and is entirely unnecessary. You’ll have no time on target and the fight will take FOREVER. This is purely a stack and burn fight that should only take a few minutes. A great group should be able to burn Ozezan to 0% in the centre of the room shortly after the suction attack that occurs after the 2nd lava pool is summoned. A good group should be able to burn Ozezan shortly after the 3rd lava pool is summoned. If your group isn’t at least that good, you have no business doing this hard mode. AOE sets (like Whorl of the Depths) and AOE ultimates (such as the destruction staff ultimate or standard of might) on your DDs are nice. A warden healer works best due to giving everyone Major Resolve and extra health and having a great assortment of HOTs. Surviving all the adds is a cakewalk with a good healer. If you don’t have a warden in group for the major resolve, the tank can wear Grave Guardian or Mighty Glacier, or the DDs can slot their own source of Major Resolve (but you’ll lose damage with either of these options).
NOTE 2: The best time to pick up taunt on the adds is right when they come in and then right after the conal attack. Don’t get stuck taunting adds randomly, as you might cone kill everyone.
NOTE 3: Since you’ll be taunting and blocking literally everything (and there is A LOT to taunt and block), sustain is important. Sturdy gear and infused block cost reduction jewellery is ideal here, in my opinion, for burn strats. For a “safe strat” where we didn’t have a Warden healer, I’ve done this with reinforced gear and infused potion cool down jewellery on an Argonian Nightblade tank wearing Grave Guardian, Lord Warden, and Battalion Defender. Sustain wasn’t an issue on either build. I feel like everybody who argues about this crap just games in a bubble. Pick the right gear for the content, group comp, and goal. See what both works and matches your team’s abilities and play style. There isn’t a one-size fits all approach.
Lamikhai and Valinna – Boss 3
Room 1: Lamikhai (Giant Spider)
Attacks to look out for:
- Cookies: A red circle that looks like a cookie will appear over someone’s head. After a few seconds, an AOE will spawn under that person. Fire will rain down on that spot for the duration of the fight.
- Enrage: Boss will rear up on hind legs (animation is the same as the heavy attack) and will start glowing red. All its light attacks will hit for major damage through block, and it’s heavy attack will kill you through block. As soon as the enrage is triggered, roll over to the ice circle that the NPC puts out across the room (it’s almost always the furthest corner away from where the boss is positioned) and wait behind it. That’ll cool the boss off.
Adds/Mini-bosses Notes:
- There are small spiders that spawn. You can taunt them or ignore them. They don’t do much.
Special Notes:
- When Lamikhai gets to 50%, it’ll run away. The webs covering the door will burn, and everyone can run through. Pay attention to the boss’s health and walk yourself and your group towards the door to make for an easy escape, because if people don’t get out of the room in time, they die.
Room 1 Lamikhai (Giant Spider) Hardmode
Difference:
- Cookies x4: Everyone will get cookies. Nom nom nom. Maintaining a pixel stack is important since the AOEs never disappear. As soon as they drop, everyone moves together to the next spot.
Room 2: Valinna followed by Lamikhai
Valinna Phase: She stays out until her health dips a little under 60%
Attacks to look out for:
- Fire Beam: Straight outta FFVI, Valinna will channel her inner MagiTek armor and hit you with a fire beam. Maintain block and either heal yourself or pop some damage shields or both. If you have a good healer, you can probably just stand there and block and be lazy.
- Burning DOT: Valinna will light people on fire after spreading her arms out like an airplane (is Valinna the secret sister of the Shrouded Axeman from Shipwright’s regret? Find out on the next episode of Dragonball Z!) This can be healed through
- Cookies: Just like the first room, 1 person in the group will get cookies. The animation is the same as the burning DOT (spreads her arms out like an airplane) These should be placed on the outsides and corners of the arena or up the hill that led into the room.
- Fire Cages: Valinna will raise her arm up in the air and place big AOE circles around 2 people (it won’t be the tank unless two people are dead). Once the AOE circles settle, the players will need to stay inside their circles. If they leave their circle OR if someone else enters their circle, it’ll blow people up. There is constant damage inside the circle. The circles can be stacked, but the damage increases.
Lamikhai Phase: Appears as Valinna is leaving
All attacks and mechanics are the same as in the first room, except fire cages will spawn when Lamikhai is out, not cookies.
Adds/Mini-bosses Notes:
- Ensnaring Spider: This spider will spawn up against the walls of the room halfway between the entrance and exit. It will wrap the furthest player away in webs and start dragging him or her over (think Fang Lair ghost chain mechanic). If the player reaches the spider, the player dies. The healer should stand a little up the hill (entrance) or near the exit door (staying by the exit is smarter during the end of the fight so make it easier on the person to exit the room before it explodes. The two DDs should always position themselves near the center of the room. Once the ensnaring spider appears, the DDs can burn it down quickly. Tank can debuff the spider to make it even faster.
- Little Spiders: Just like in room 1, they don’t do much.
Additional Notes for the Tank:
- Because there are fire cages that you cannot run through without blowing everyone up, it’s more important to control where the ice circle is placed to end the boss’s enrage mechanic. It will always go to one of four positions (exit, entrance, or side walls where the ensnaring spiders appear. By holding the boss in a certain spot, you can make it so the DDs and healer can easily place their cages without getting in your way.
Room 2 Valinna Hardmode
Difference:
- Fire Beam: The fire beam hurts more and also spawns AOE fire circles underneath you. You will need to move to stay out of them, as the DOT hurts quite a bit if you stand in the fire circle.
- Burning DOT: This hurts a hell of a lot more. It’s very important for the healer to understand this mechanic and when it occurs.
- Fire Cages: There will now always be 3 fire cages. The two DDs should still stack theirs, and the healer should be behind them.
- Cookies x4: When Valinna is out, every cookie phase will be 4 cookies. This room can get very messy very quickly if people don’t place their cookies appropriately. The best place
Note: Positioning is very important for this room. The two DDs should try to always stack their fire cages in the center of the room. The healer should line up either close to the exit door or up the hill as described earlier. The tank should always try to line up so the healer has a direct line to both the DDs and the tank.
Room 3: Valinna
Attacks to look out for:
- Everything she did in room 2 is still here in room 3
- Meteor: This is the same visual as the meteors out of the Rockgrove trial. You can approach the meteors in one of two ways. They can be destroyed or ignored. If you ignore them, you should have someone dedicated to giving out a “BLOCK” countdown (3, 2, 1, block). When the meteor explodes, it’ll throw anyone not blocking off the cliff to their death (or if they’re lucky, to a “joining encounter in progress” teleport screen). If you destroy them, you lose time on target on the boss and may have people in your group out of position.
Additional Notes for the Tank:
- It’s best to stay on the outskirts of the arena and always send the fire beam to the same half of the room. This gives your DDs and healer room to maneuver on the opposite side of the room where they will never be in danger of getting hit by the beam.
Room 3 Hardmode
Difference:
- The Rolling Stones: Straight out of the rock and roll hall of fame, the rolling stones are back with a vengeance. This makes the map look REALLY SCARY. Two lines of AOE’s will form an X across the arena. Big stones will roll across them. It looks like you need to get out of these, but you can just block. They don’t do any damage, but they do knock you back if you don’t block.
- Fire Beam: This hurts way more in the third room and the AOEs that spawn under you are significantly more deadly. NEVER TRY TO ROLL DODGE THIS ATTACK OR THROUGH AN AOE.
- Cookies x4: Same as Room 2. Everyone except the tank should do their best to triple stack these up on the circumference of the arena
- Fire Cages x3: Same as Room 2. Two DDs should stack these, and the healer should line up behind them.
- Burning DOT: Same as Room 2
Note 1:
There are 2 attack patterns that Valinna can take (ranged or melee), and it looks like it’s based on whether you hit her with an immobilize ability shortly before she teleports, although this has been hard to definitively prove.
The 1st attack pattern is ranged. It is the ideal attack pattern, so try to time your immobilization skills to proc right before she teleports. Her strongest attack, the fire beam, doesn’t have unlimited range, so if you are far enough away, you only need to kite the growing AOEs without having to worry about the direct damage.
The 2nd attack pattern is melee. She will constantly be running right up to you which makes your DDs time on target suffer. Also, you need to worry more about positioning. The best thing to do is wait for a fire beam, then you’ll have 14s to position her back by the DDs and get back in the HOTs, which is more important since you’ll be getting hit by all the ticks of the fire beam now that she’ll be close.
Note 2:
There is an order to this fight. In the beginning, Valinna will start in the centre of the room. After she teleports, she summons a meteor then places cookies on everyone. Then, assuming the tank followed her to the where she teleported, she’ll fire beam the tank. About 3 seconds later, the meteor will explode and everyone will need to block. After that, there will be fire cages and a burning DOT. Then she’ll teleport across the room again, followed by cookies, a meteor, fire cages, etc. This does get jumbled as the fight goes longer and longer, but it starts off predictably. Just like in room 2, positioning is important. DDs should stack their fire cages and the healer should line up behind. Cookie positioning should be coordinated. If the boss’s pattern is melee, then the tank needs to get up in AOE heals that are hitting everyone else to survive the constant beaming.