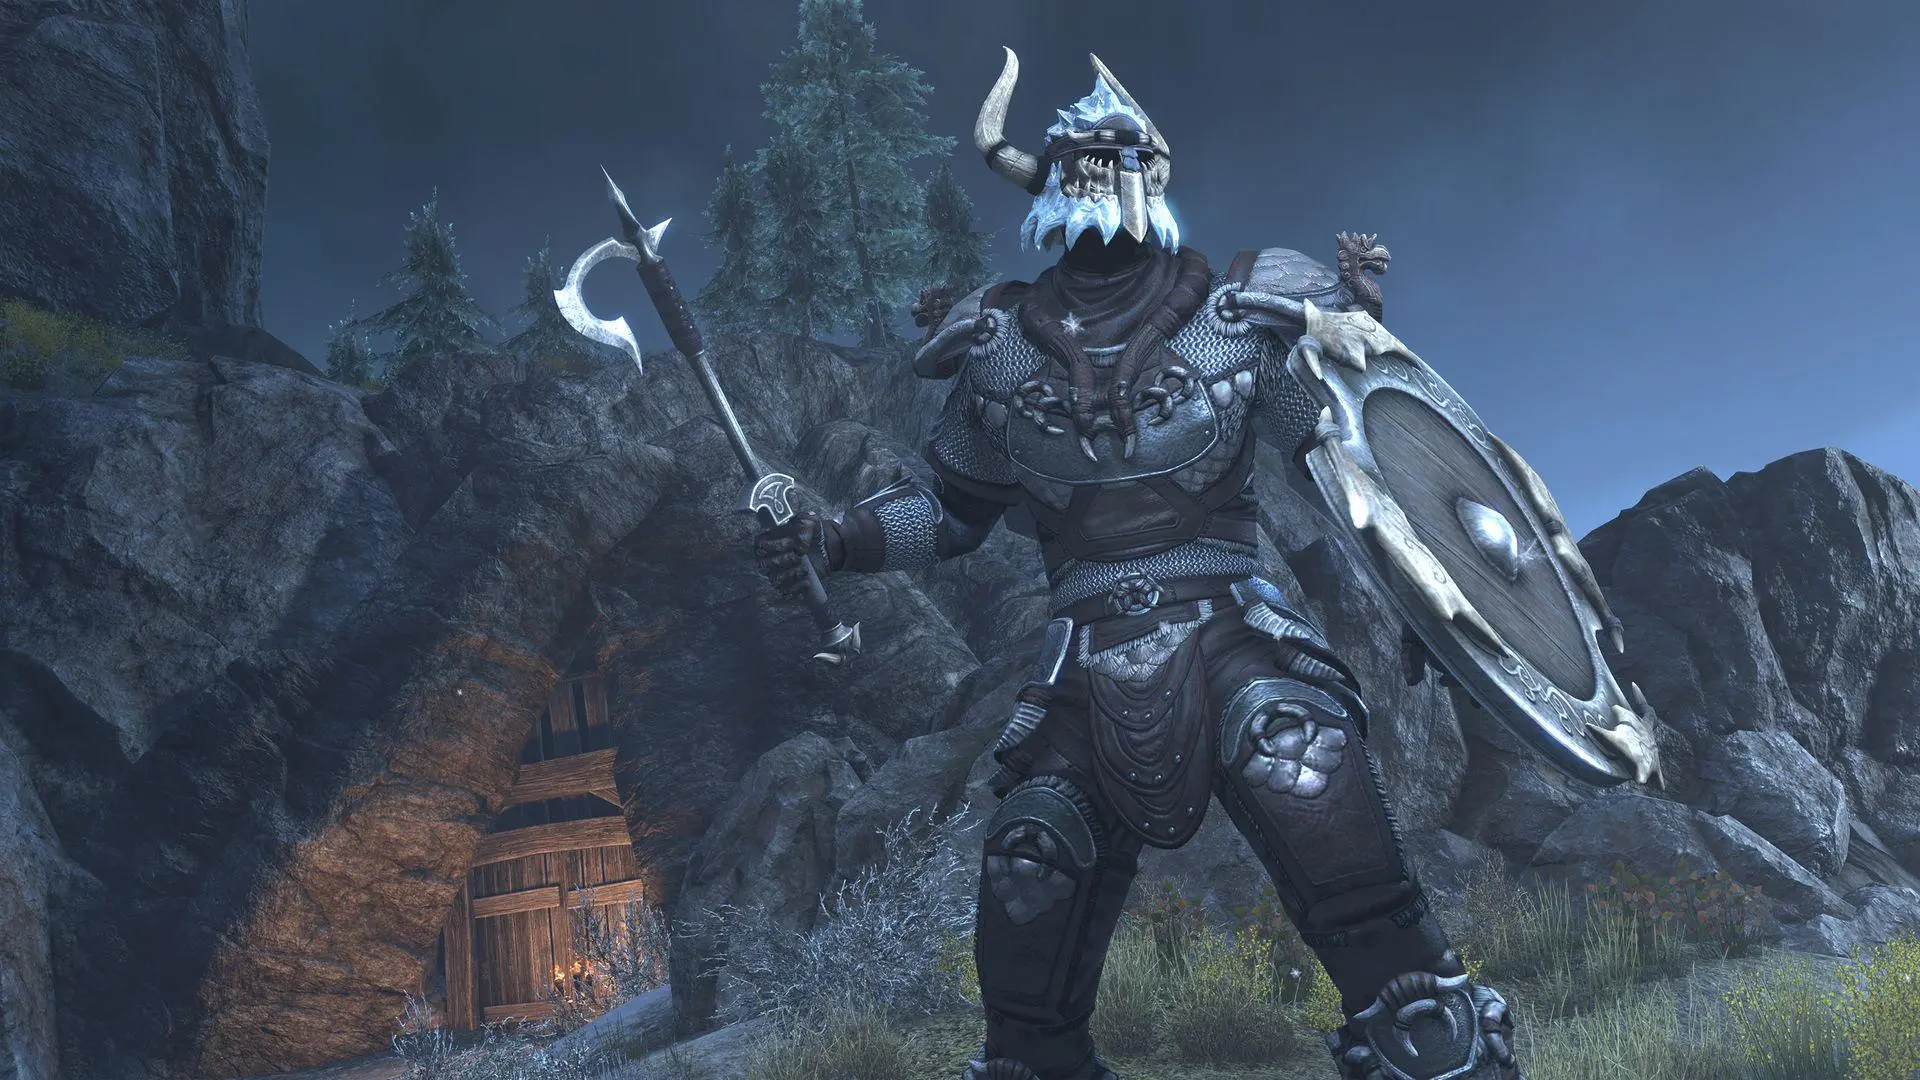
ESO Graven Deep Dungeon Tank Guide
Graven Deep is one of Elder Scrolls Online’s most challenging dungeons, introduced in Update 35 – Lost Depths (August 2022). This dungeon, located in the High Isle zone, pits players against a series of formidable bosses, each with unique mechanics, optional hard modes, and dangerous adds that demand strategic play.
As a Tank, your role is critical—managing enemy aggro, mitigating incoming damage, and ensuring your team avoids lethal mechanics. In this ultimate Graven Deep Tank Guide, we’ll break down each boss encounter, hard mode variations, and tanking responsibilities, so you can confidently lead your team to victory.
Let’s dive into the depths and prepare for battle!
✅ Want to improve your tanking across all dungeons? Check out our ESO Dungeon Tank Build Guide!
Mzugru, Security Drone – Optional Boss 1
Attacks to look out for
- Heavy Attack: Just block
- AOE Single Spin: Just block
- AOE Sky Missiles: Only happens during the invulnerable phase. Boss shoots up into the sky. AOE circles appear on ground. They are easy to walk out of before they land.
Adds/Mini-bosses Notes:
- Power Transmitter: A transmitter will appear that will make the boss go invulnerable. Just debuff it for your group to take it down faster.
Mechanics tank is responsible for:
- Hold aggro, don’t die.
- Debuff the power transmitter.
Special Notes:
- The invulnerability phase of the fight seems to happen on a timer. If you get it more than once, find stronger friends.
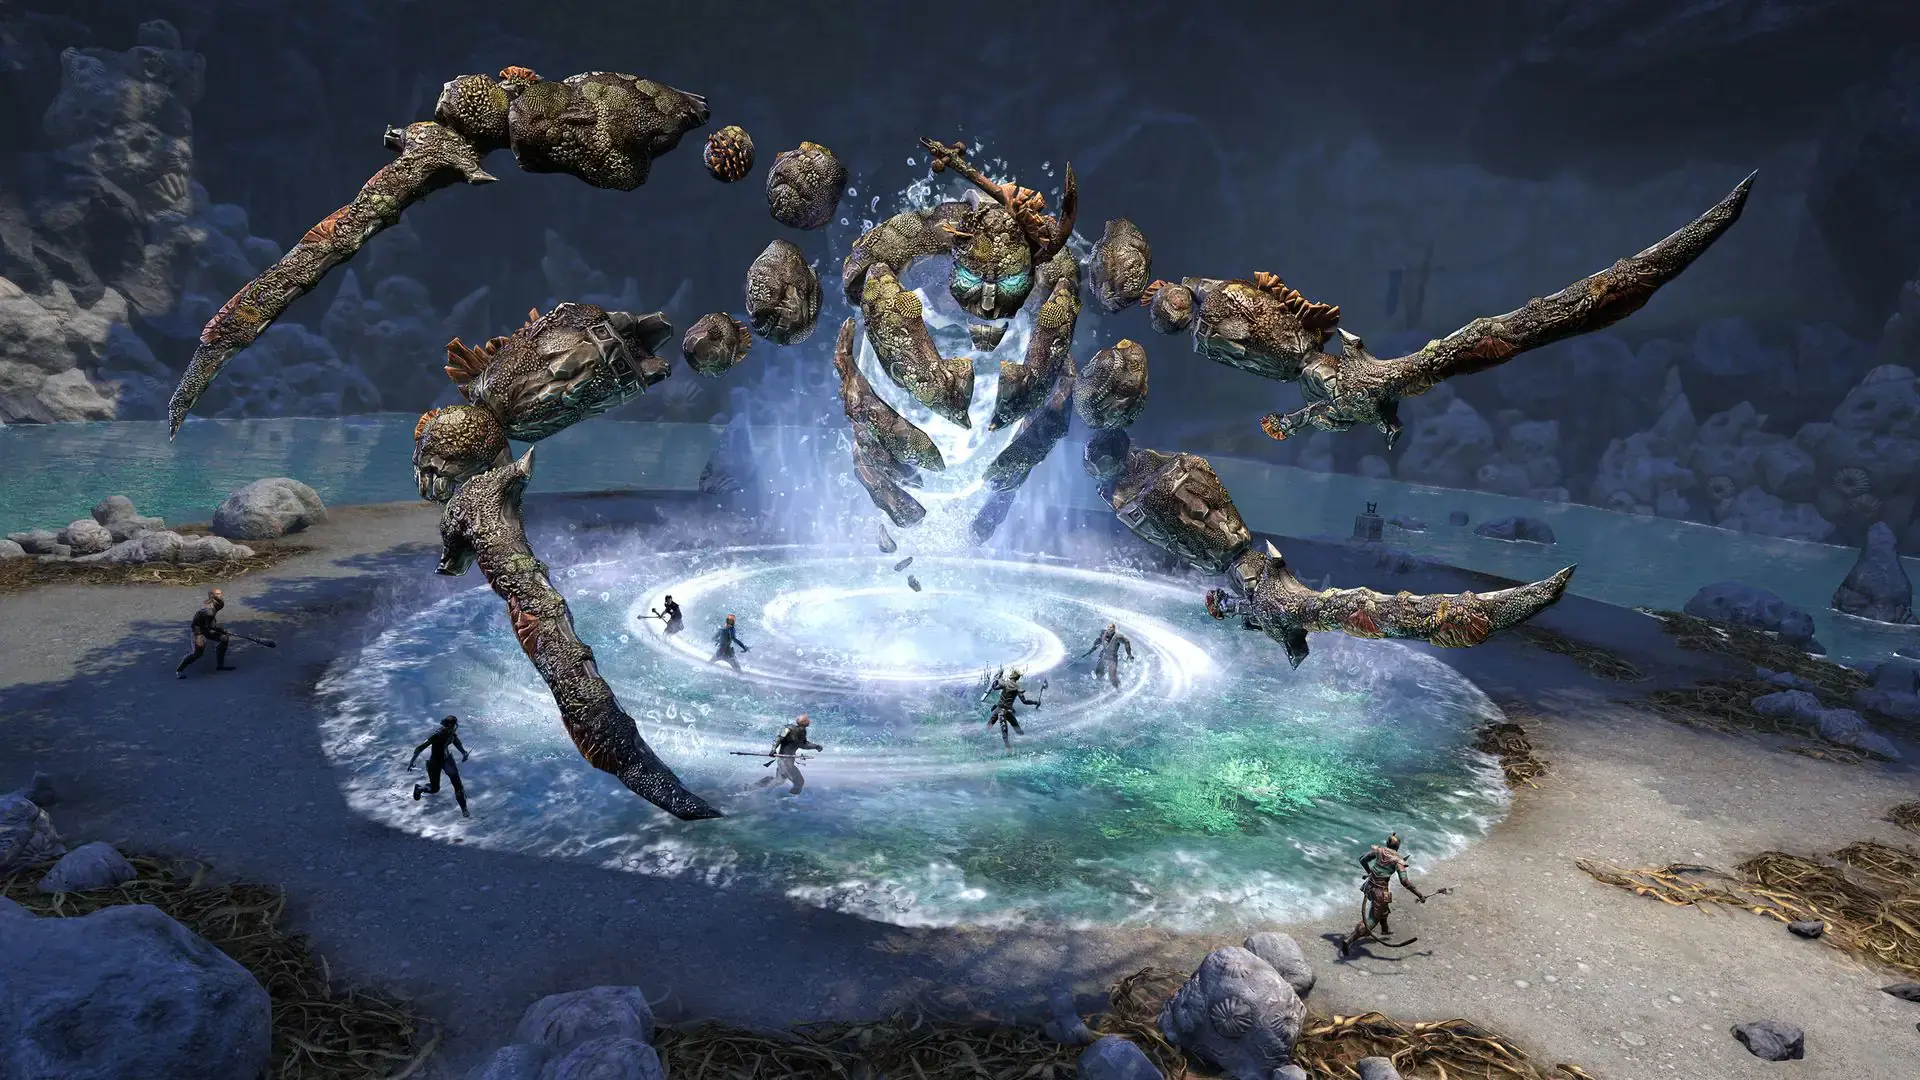
The Euphotic Gatekeeper – Boss 1
Attacks to look out for:
- Leap: The boss will leap to somewhere in the arena. Where he lands, a geyser and a pangrit will spawn. In addition, a couple AOE circles will shoot out from where he lands.
- Triple Charge: Early in the fight, he’ll triple charge in a triangle pattern after every leap. He’ll end very close to where he started. Later on in the fight, the leap and charge aren’t paired together. The charge will knock you over even if you are blocking. While charging, he will shoot AOE circles in the direction of his movement.
- After Image (Dragonball style): The boss leaves behind an after image. The after image grows an AOE, then it explodes, sending AOEs everywhere.
- Heavy Attack: This is often paired with the after image. Expect the heavy to come right after it most of the time.
Adds/Mini-bosses Notes:
- Pangrit: They will spawn at the geysers when the boss leaps. They can be killed instantly when the growing AOE synergy (called Bristlepitch) is placed on the geyser. They should be taunted if they aren’t killed right away. They do some bat sonar attack and a frontal cone attack. Best to keep those off your group.
Mechanics tank is responsible for:
- Hold the boss next to where he leaps. It makes it easier for the DDs and the healer to drop the synergy on the geyser.
Additional mechanics tank should be aware of:
- If Bristlepitch isn’t dropped on a geyser, Pangrits will keep spawning. Also, the Bristlepitch will leave a giant AOE wherever it was dropped. It’ll eventually go away, but it takes a while.
Special Notes:
- If you get the Bristlepitch synergy, it means everyone in your group is dead. But you already knew that because it’s your fault. You just wanted to finish off the boss yourself because you never get to kill anything, so you made sure they died at like 1% boss health. Then you realized 1% was still way too much for you to deal with, so you ended up wiping anyway. Lesson learned. Make sure it’s 0.1% next time. Anyway, drop the Bristlepitch on the geyser.
The Euphotic Gatekeeper – Boss 1 Hardmode
Differences:
- Upon reviewing the video, there are no differences other than the boss’s health and the amount of damage he does. If anybody notices anything, I’ll update this.
Xzyviian, Defense Crawler – Optional Boss 2
Attacks to look out for
- Frontal Conal Attack: Just face boss away like usual and block
- Exorcist Style Flame AOEs: Boss will rotate his head around 360 degrees and shoot fire everywhere. Ignore it. If you are going to go out, might as well go out in a blaze. Actually, if you die on this boss, your tank card is going to be removed.
Special Notes:
- This is the most acrobatic dwemer creation ever. Marvel at his gymnastic ability and form a fan club!
Varzunon – Boss 2
Attacks to look out for:
- Overhead Smash: Boss’s hands start to glow. He raises his hands overhead then smashes them down on you. They put a line of AOE circles in your direction. These circles hurt a lot and will grab you if you stand in them too long, essentially perma-stunning you until you die. In conclusion, don’t stand in the circles. If you are really lazy, you can find the small space between the circles to stand, and if you are in just the right spot, you won’t ever need to move from that spot at all for the entire fight because he’ll keep placing them in the same exact spot.
- AOE Ground Stomp: Stand inside it and block. Doesn’t hurt that much, even when boss is at full mast.
- Death Cloud: Boss channels a cloud circle above his head. It sends out an attack every second for 6 seconds that hits all group members. This hurts everybody else a lot more than it hurts you, but it still hurts you more than his other attacks. It helps to have a healer, so your group members survive. As the tank, you can self-heal no problem through this, even when the boss is at maximal size, and you are mystic guarding your DD because you stupidly decided to 2-man this dungeon.
Adds/Mini-bosses Notes:
- Skeletal Smorgasbord: Boss’s hands start to glow. He raises them from his sides and some skeletons spawn of various names, types, ethnicities, genders, sexualities, and personality flaws. Chain them in so they die in the cleave, or if you want, make your DDs struggle to kill things quickly and/or survive.
- Skeletal Sacrifices: Boss summons these with the other skeletons. They work like Viagra, but only for Varzunon, who is conveniently made of bones. If they reach the boss, they enter him and make him longer and harder. They can be killed before they reach him, but if your DDs are good enough to do that, then they’re good enough to just stack on the boss and kill him while ignoring these. If they aren’t strong enough to kill them quickly, then this fight is going to take way too long no matter what your strategy is, and you should probably just drop group and leave the party without saying a word. It’s called quiet quitting, and it’s all the rage these days, at least that’s what Tik Tok told me. Regardless, everyone should ignore these.
Mechanics tank is responsible for:
- Just chain in adds (or be a necro and passively do this), hold aggro, and don’t stand in stupid.
Special Notes:
- As Varzunon grows in size, his hit box becomes nearly impossible to find. Perhaps that will be fixed by the time you are reading this, but you have to look up really high at him to reapply taunt or to hit him with any melee abilities. Make sure you are on your range taunt bar to make it easier.
If you did the 2nd optional boss, you’ll have the option of activating the laser defence system throughout the fight. After an hour of testing how best to use it, the conclusion is that it’s a stupid waste of time. WTF were they thinking when they made this?
Varzunon – Boss 2 Hardmode
Differences:
- Overhead smash puts out 3 lines of AOE circles in a T-shape.
- There are 3 skeletal sacrifices per add summoning phase instead of 2
- Strategy is the same. Stack and whack.
Chralzak, Sphere 9402-A – Optional Boss 3
Attacks to look out for:
- Weak downward lightning slap: Boss looks like he’s about to pet you on the head, aggressively. Telegraphed with a big circle on the ground. Shoots out lightning when it slaps. Barely does any damage.
- Weak 360 degree AOE spin: Does what name says it does.
- The Stranger: With his left hand, the boss tickles you with a little bit of lightning, for that nice, tingly feel. Doesn’t hurt. Actually, feels pretty good.
- Aggro ignoring AOE that targets someone other than you: Let’s be honest. You don’t really care about this.
Mechanics tank is responsible for:
- Tutorial: Block. If you’re on console, put a rubber band around your controller so it holds down the left trigger. If you’re on PC, add-ons play 100% of the game for you, so just turn on the one that blocks for you. While this is going on, text 2 to 3 loved ones letting them know how much you appreciate them. It’ll make them feel special. They won’t even know you did it because some video game webpage told you to.
Zelvraak the Unbreathing – Boss 3

Attacks to look out for:
- Frontal Tracking Cone (Necrotic Wave): The boss follows you around with a conal AOE that strikes when it reaches maximum length. Do not swing this into your group. Make sure you learn the timing on this attack as soon as possible so you can ROLL DODGE it. Do not try to block it because it hurts a lot, and if it hits you, it puts a large DOT on you (necrotic remnant). After it hits, a shade version of the boss will spawn exactly where the boss was standing, and it will be facing the exact same direction the attack went out. The next time this attack starts, the shade will put out a cone in the same spot it hit last time, while the bosses will still track you like it did before. Then, another shade will spawn. This keeps happening throughout the fight, and the shades never appear to go away. So, your best strategy is to stand in the same general spot the whole fight so cones never get placed so they are facing the rest of your group.
- Look Away, Look Away. This boss will wreck your evening, your whole life, and your day: Sorry, got carried away in song there. The boss will start glowing and sucking in surrounding glowing air in a ring shape around his middle. You will also get a little skull icon above your head (it’s hard to see). Once it’s charged up, it will send out a shockwave that will place a big DOT on you and make you run away uncontrollably for a few seconds. The attack only hits if your character is facing in his direction. So, just turn your character away from the boss (not your camera, your actual character). As the tank, you should also verbally call out “look away” or whatever your safe word is to the rest of the group, so they know it’s coming too. What? You didn’t come prepared with a safe word? You’re in a dungeon. You need a safe word!
- Summon Sea Orbs: The boss will summon 1 sea orb around 90% and another around 80%. They persist until 50%. In the 2nd phase of the fight, he will summon an orb around 40% and then again around 30%. You know he is summoning an orb when he says either “Drown beneath the brine” or “Take your last breath.” See Adds/Mini-bosses section below for strategy on dealing with the orbs.
- Ability Steal: The boss will target one person in the group and start stealing that person’s essence (he points his staff at someone, and you’ll see white wispy lines coming off the person and to the staff). Whatever class the group member is determines what ability is stolen.
- Necromancer: Boss summons blast bones. These should be blocked.
- Templar: Boss puts out the Nova ultimate, a big AOE that gets in your damn way. It’s the worst. He’ll put several out too. Biggest pain in the ass, and not the good kind.
- Nightblade: Boss puts out the Crippling Grasp DOT on everyone. It can be purged.
- Dragon Knight: Boss uses Inferno to send out fire AOEs. HOTs from the healer take care of this.
- Warden: Boss puts out ice AOEs. Don’t slip and break your hip.
- Sorcerer: Boss starts zapping everyone with the lightning execute. Except it isn’t an execute and it leaves an AOE DOT on the ground. Just side step these and don’t stand in the AOEs.
- Sunder Soul: This will not hit the tank unless everyone else is dead (or the tank loses aggro at the exact wrong time and has really bad luck). The boss will split the player’s soul and body. There will be a blue debuff on the bar with a short countdown timer. When it ends, the person will start taking damage that cannot be healed through. The soul will appear on the opposite end of the arena, and the player will need to run through it to reclaim it. If you get this because everyone else is dead, good luck. It’s pretty much a wipe if you get this.
Adds/Mini-bosses Notes:
- Sea Orbs: These will start descending after they are summoned. They make a very distinct sound when they’re dropping. If an orb reaches the ground, it wipes the entire group. Someone will need to be responsible for hitting the orbs before that happens. They can be hit by light attacks or ranged direct damage attacks (Crushing Shock and Inner Fire work well for you as the tank since you probably don’t want to drop block to light attack with an ice staff). Unfortunately, indirect damage attacks (such as ground based DOTs) will not work, and neither will range traps such as lightweight beast trap or fire rune. When an orb is hit, it will begin rising back up to the ceiling. As soon as it reaches its maximum height, it will start dropping again. That means if you hit it early, you’ll have to hit it again sooner because it won’t have to rise as far, but if you wait too long, you risk missing it and wiping the group. Depending on where the orb was hit in its descent, you’ll have between about 10-20 seconds before it hits the ground.
- 4 Zelvraak Split: At 75% and 25%: Zelvraak splits into 4 shades placed on the pads in the corners of the arena. Approximately every 4 seconds, each shade will start channelling an AOE ability that hits everyone in the group for big damage. The channel time is very short (it appears to be only 1-1.5s), but it can be interrupted in that window. Even if no interrupts are gotten, everyone can survive by blocking. If a DD or healer gets hit by 2 at the same time without blocking, they will die.
- Flesh Atronach (Big Version): If too many fractured souls reach the summoning circle during the Upside-Down mechanic at 50%, you’ll get a big flesh atro with a lot of health. He hits fairly hard, and he has a huge ground smash AOE that looks scarier than it is. You probably don’t want to stand in it anyway, but it’s not the end of the world if it hits you.
- Flesh Atronach (Cute, Baby Version): If your group kills most of the fractured souls in the Upside Down, you’ll get an itty-bitty flesh atro. He just light attacks and is super cute. He’s trying to be just like his big daddy flesh atro.
Mechanics tank is responsible for:
- Hitting the Sea Orbs: If you are going to do hard mode, get used to hitting both sea orbs on non-hard mode first. Make sure you firmly reprimand people in your group for hitting your orbs because it will throw off your rhythm. Then when you inevitably wipe the group because you forgot a sea orb, you can avoid accountability because that person messed up, your timing. If they don’t hit your orbs and you still screw up, blame lag, but make sure you start complaining about lag early in the dungeon that way you have plausible deniability. #endgametankingstrategies
- Interrupts: During the split phase, stand on one of the pads and interrupt the shade every 4 seconds. Just don’t miss a sea orb because of it.
- Call Outs: As the loud, obnoxious member of your group, you might as well make your voice useful and call out mechanics.
Additional mechanics tank should be aware of:
- The Upside Down: At 50%, you’ll be teleported to a shadow dimension. The boss will go to the center of the room and place a large AOE there. Go stand in it. I dare you. During this phase, a glowing dude will appear. Run into him. Then another glowing dude will appear. They heal you and make you fast, like Jimmy John’s sandwich delivery fast. Also, If you don’t grab the glowing dudes, you’ll die. In addition, flying enemies called “fractured souls” will start making their way to the centre circle. They can be killed by any damage dealing ability. If you see a large group of them flying in along the same general path, throw down a wall of elements. They’ll just run into it and die. Then, while you’re running around, just light attack any others you see. The fewer that reach the boss, the weaker the flesh atro will be when the phase ends.
Special Notes:
- I want to reiterate how much of a stupid waste of time the laser defence system is. Even during the phase where you get teleported to the Upside Down and need to kill the fractured souls to prevent the flesh atronach’s power level from going over 9000, the lasers don’t last long enough and are too far out of the way to be useful at all.
Zelvraak the Unbreathing – Boss 3 Hardmode
Differences:
- Sea Orbs: There will be 4 Sea Orbs instead of 2
- As the tank, you will be responsible for either 1 or 2 of them, and the healer will be responsible for the rest. I recommend you get 2, as it will be easier for your group to manage when the healer gets hit by Sunder Soul.
- Sunder Soul: 2 people will get the Sunder Soul mechanic instead of 1.
- This won’t change your job as the tank, but whoever doesn’t get hit by this will be responsible for taking over orbs for the healer when the healer gets hit by Sunder Soul. Just make sure your DDs know which pads are yours.
- At 80% and 30%, make sure your group waits for the Sunder Soul mechanic to complete before pushing to 75% and 25% respectively. If someone is out looking for their soul when the split phase happens, they will not survive.
- Death Penalty: When a group member dies, a gravestone will be summoned at that location, and adds will constantly spawn from it. This doesn’t happen during the 4 Zelvraak split phase, only when he’s whole. The gravestone goes away when that person is revived.
- 4 Zelvraak split phase: Each shade will do a mini version of the ability steal mentioned above. In addition, interrupts are even more important here since the channeled ability hurts more. You should still call out “block” for everyone in case someone doesn’t get an interrupt.
- Ability Steal: Zelvraak steals 2 abilities from each class now instead of 1. The second ability is defensive and is summarized below:
- Nightblade: Healing AOE. Pull the boss out of it.
- Sorcerer: Damage shield. Not very strong. DDs will just destroy it.
- Dragon Knight: Damage shield like the sorcerer’s.
- Templar: Healing AOE. Pull the boss out of it.
- Warden: Healing AOE. Pull the boss out of it.
- Necromancer: Spirit Guardians will heal the boss. One DD should focus them down when they spawn.

