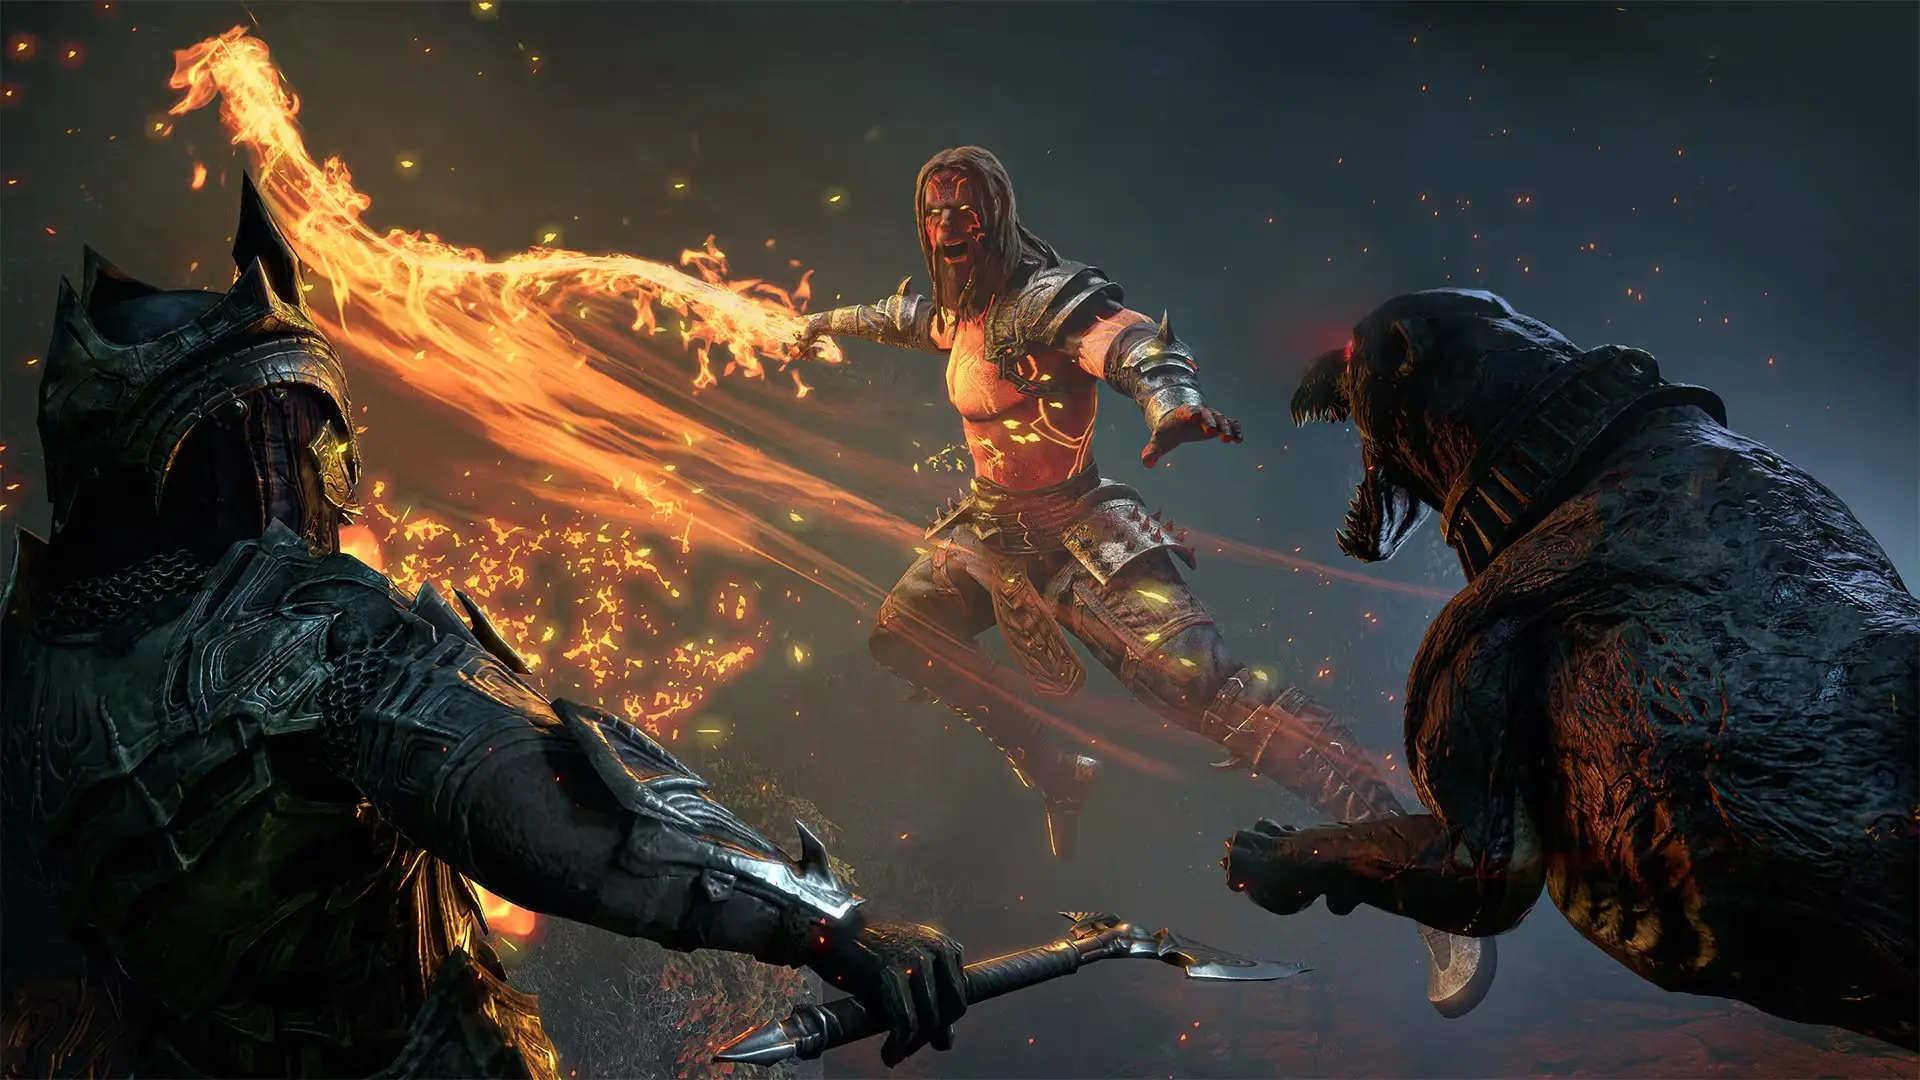


A Dragonknight Tank Build That Actually Lets You Play Everything
The Accolade Dragonknight Tank Build is designed for players who want to stop switching builds and just play the game.
This is a true hybrid tank build that combines strong survivability, reliable tanking tools, and real damage output, allowing you to move seamlessly between solo content, group dungeons, arenas, and even trials without needing to constantly respec or swap gear setups.
If you’ve ever felt stuck running a pure tank build that struggles in solo content, or stuck in a low DPS dungeon group wishing you could just carry the run yourself, this build solves that problem completely.
Want the Full Dragonknight Tank Setup? Get the complete DK Tank build, including gear, skills, and progression.
Want My Best Builds Before Everyone Else?
Get builds before release, exclusive setups, and direct input on future content.
 - The Tank Club")
Why This Dragonknight Tank Build Works Where Others Don’t
This isn’t just a “tank that does a bit of damage”.
This is a build I’ve used to clear content most tank setups simply can’t handle on their own, including:
- Questing and levelling
- Solo world bosses and world events
- Veteran Maelstrom Arena (no death)
- Veteran Vateshran Hollows (no death)
- Normal and veteran dungeon tanking, including base game hardmodes
- Normal trials and even soloing a trial (Asylum Sanctorium)
The entire setup is built around one core idea:
👉 One build that works everywhere
How This Hybrid Tank Build Handles Damage, Survival and Control
The strength of the Accolade build comes from how everything is layered together.
Instead of running separate skills for tanking, damage, and survival, this build uses abilities that serve multiple roles at once. You’re always applying a taunt, controlling enemies, healing yourself, and dealing damage at the same time, combining core tank fundamentals with layered damage.
With the Dragonknight changes in Update 49 and Scribing, this approach is stronger than ever. DK skills now offer more utility and built-in power, making it much easier to maintain damage while still fulfilling your role as a tank.
The result is a build that feels smooth, efficient, and incredibly flexible in real gameplay. This isn’t a full meta support tank, and it’s not trying to be. You still provide the core tank responsibilities: taunting, control, and key buffs, but with enough damage layered in to carry weaker groups and speed up content significantly.
Who This ESO Dragonknight Tank Build Is Perfect For
This build is ideal if you:
- You are a Tank
- Want to play solo without feeling weak
- Want to tank dungeons without changing your setup
- Prefer a simple, reliable build that just works everywhere
- Are learning tanking and want more room for mistakes
- Want to farm gear, level, and complete content efficiently
- Want to go seamlessly between all of ESO’s content with one build.
It’s especially strong for newer or returning players who don’t want to manage multiple builds, but it also has enough depth to push much harder content if you know how to play it well.
Where This Build Excels
You can comfortably use this build for:
- Questing, overland, world bosses & events
- Public dungeons & delves
- Gear farming & levelling
- Random normal dungeons & DLC dungeons
- Daily pledges & base game veteran hardmode dungeons
- Solo arenas (Maelstrom & Vateshran)
- Solo Infinity Archive
- Normal 4-player arenas (Dragonstar & Blackrose Prison)
- Normal trials
Where It’s Not Recommended
To keep expectations clear, this build is not designed for:
- Veteran DLC dungeons or hardmodes
- Veteran or hardmode trials
- High-end PvP
Core Setup – What You Need to Make This Build Work
Mundus Stone
The Thief is a deliberate choice to increase crit chance and push your overall DPS higher without sacrificing survivability.
The Shadow can also be used to increase crit damage.
If you struggle with sustain, The Atronach is a solid alternative.
Food Choices
Red Frothgar is the best overall option, giving you Max Health and Magicka Recovery, both essential for surviving and sustaining longer fights.
Jewels of Misrule or Smoked Bear Haunch are viable alternatives, but this build typically doesn’t struggle with Stamina sustain, making Frothgar the stronger choice.
Potions
Essence of Health (Tri-Stat) potions are the default choice, restoring all resources and supporting both survival and sustain in every situation.
If you run a non-Oakensoul version of this build, Weapon/Spell Power potions become the stronger option for increasing damage output.
Race Selection
Nord is the strongest all-round race for this build due to bonus resistances, Max Stamina and increased Ultimate generation. These benefits reinforce defensive stability but also offer some advantages for damage.
You can run more damage-focused races, but you’ll lose some of the defensive consistency that makes this build so reliable.
Not sure which race is right for you? See our full ESO Tank Race guide.
Attributes
Placing 64 points into Stamina maximises both your damage output and resource sustain. We gain enough Max Health from other sources.
Stats to Aim For (Fully Buffed)
These are the target stats you should aim for when fully buffed. They provide the balance needed to tank comfortably while still dealing meaningful damage.
~30,000 Health
Enough to comfortably survive boss mechanics while still investing into damage-focused stats.
~30,000 Stamina
Supports both your damage and core tanking actions like blocking, dodging and break free.
~15,000 Magicka
Ensures you can consistently use key abilities, especially when chaining and controlling enemies.
20k+ Resistances
Reduces incoming damage significantly without needing to fully cap for this level of content.
~1,500+ Magicka Recovery
Important for sustaining add pulls, where frequent chaining can quickly drain your resources.
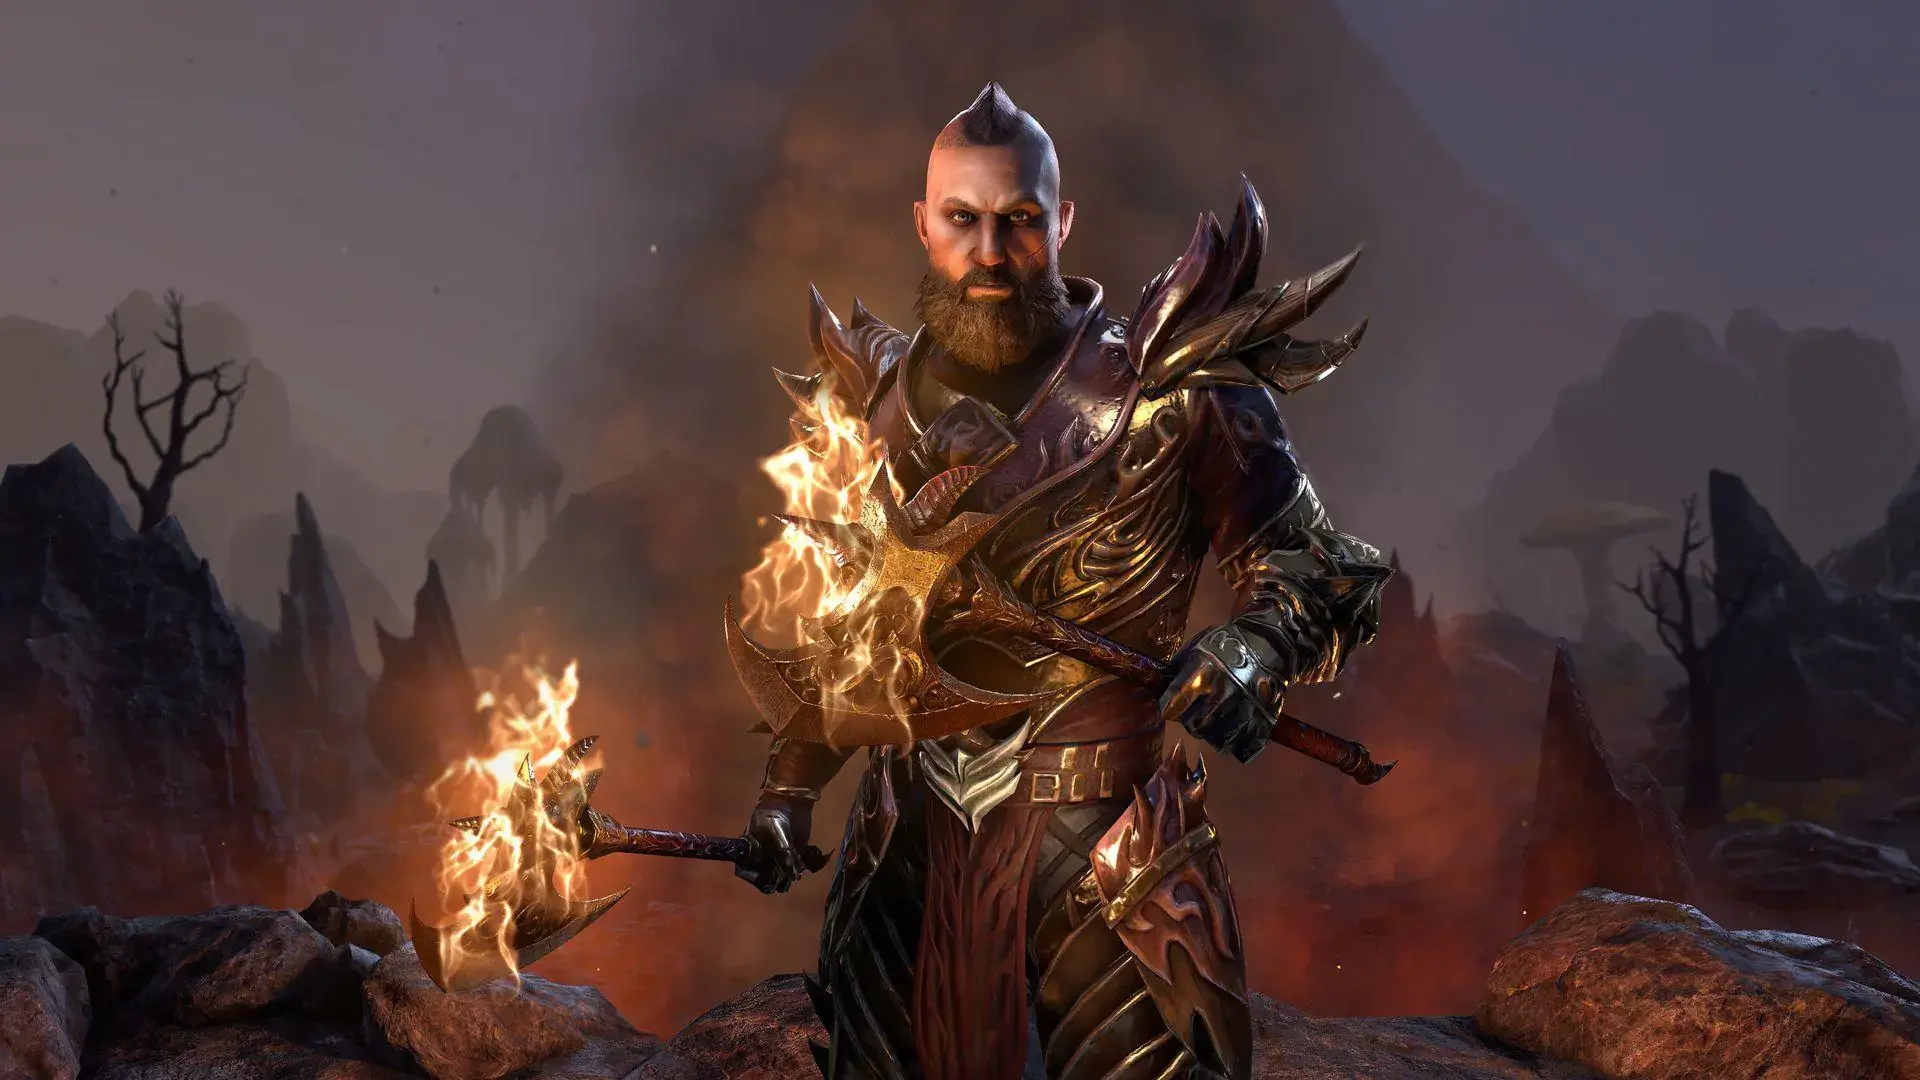
ESO Dragonknight Hybrid Tank Gear Setups
This build offers two gear setups depending on how you want to play:
- 1-Bar Setup (Oakensoul) – Simpler, easier to use, and perfect for most players
- 2-Bar Setup – Slightly more damage and flexibility, but requires more skill and bar management
The gear in this build is designed to balance damage, survivability, and group utility. You’re not just stacking defensive stats, you’re using proven tank sets in a way that also increases your own damage output while still supporting your group.
All of these sets are commonly used in tank builds, meaning you likely already have them or can farm them easily.
Want a deeper explanation on Tank set choices, traits, and optimisation? Visit the complete ESO Tank Gear Guide.
| Piece | Set | Weight | Trait | Enchantment |
|---|---|---|---|---|
| Head | Archdruid | Heavy | Divines | Prismatic Defence |
| Shoulder | Powerful Assault | Medium | Divines | Stamina |
| Chest | War Machine | Medium | Divines | Prismatic Defence |
| Hands | War Machine | Medium | Divines | Stamina |
| Waist | War Machine | Medium | Divines | Stamina |
| Legs | War Machine | Medium | Divines | Prismatic Defence |
| Feet | War Machine | Medium | Divines | Stamina |
| Necklace | Powerful Assault | Jewellery | Infused | Magicka Recovery |
| Ring | Powerful Assault | Jewellery | Infused | Physical Damage |
| Ring | Oakensoul Ring | Mythic | Infused | Physical Damage |
| Main Hand | Powerful Assault | Any 1H | Sharpened | Crusher |
| Off Hand | Powerful Assault | Shield | Divines | Prismatic Defence |
| Piece | Set | Weight | Trait | Enchantment |
|---|---|---|---|---|
| Head | Archdruid | Heavy | Divines | Prismatic Defence |
| Shoulder | Archdruid | Light | Divines | Stamina |
| Chest | Powerful Assault | Medium | Divines | Prismatic Defence |
| Hands | Powerful Assault | Medium | Divines | Stamina |
| Waist | Powerful Assault | Medium | Divines | Stamina |
| Legs | Powerful Assault | Medium | Divines | Prismatic Defence |
| Feet | Powerful Assault | Medium | Divines | Stamina |
| Necklace | War Machine | Jewellery | Infused | Magicka Recovery |
| Ring | War Machine | Jewellery | Infused | Physical Damage |
| Ring | War Machine | Jewellery | Infused | Physical Damage |
| Main Hand | Void Bash | Any 1H | Sharpened | Weapon Damage |
| Off Hand | Void Bash | Shield | Divines | Prismatic Defence |
| Main Hand Backup | War Machine | Ice Staff | Infused | Crusher |
Not sure which setup to choose?
Start with the 1-bar version. It’s easier to play and handles all content, just with slightly lower DPS.
Gear Information
Armor & Shield Traits, Enchants & Weights
- Divines – Boosts your Mundus effect, increasing either crit chance (Thief) or Magicka sustain (Atronach).
- 5–6 Medium Armour – Improves DPS while still providing useful defensive bonuses like reduced block cost and AoE damage taken.
- 1 Heavy – Provides some benefit from Undaunted passives and defensive perks from the Heavy Armor Passives and bonuses.
- 5-1-1 (2-bar setup) – Gives more max stats and better sustain from running 1 Heavy and 1 Light piece.
- Prismatic Defence Enchants – These help you comfortably reach your target stats, giving you the balance needed to tank effectively while maintaining strong damage output.
- Stamina Enchants – Used on the “small” gear slots to increase Max Stamina.
Jewellery
- Infused + Physical Damage / Magicka Recovery – Increases overall damage while maintaining enough sustain for longer fights and add pulls.
Weapon
- One-Hand & Shield
- Sharpened – Increases your penetration, boosting damage against enemies
- Crusher – Applies additional resistance reduction, benefiting both you and your group
1-Bar Setup (Simple & All-Content Ready)
This is the core version of the build, simple, powerful, and capable of handling almost all content without needing to manage multiple skill bars.
1 piece Archdruid Devyric
Gives offensive penetration improving DPS and you should already have it as a Tank since it forms one of the most needed Tank monster sets.
5 piece Powerful Assault
Wearing this set gives Max Health, Max Stamina and Weapon/Spell Damage but the 5-piece is both a self buff and a group buff of 307 Weapon/Spell Damage, it’s a set you likely already use as a tank and is useful in both solo and group content. This can be used on the body or the Weapons/Jewellery, since its Medium Armor it really helps increase our DPS.
5 piece War Machine
Another common must have Tank set, this is also a Medium Armor set and you can use it on the Weapons/Jewellery or Body pieces. It will also give Max Stamina and Weapon/Spell Damage along with Minor Slayer increasing your damage done by 5%. This is another set that has a self buff but also a strong group buff, giving your group Major Slayer when you use your Ultimate.
Oakensoul Ring
Oakensoul Ring provides a wide range of powerful buffs, allowing you to run a one-bar setup without losing damage, survivability, or utility. It’s what makes this version of the build so simple and effective.
If you want a simple setup that just works everywhere, this is the version you should use.
Where to Obtain:
- Powerful Assault – Tel Var Merchant or Guild Traders
- War Machine – Halls of Fabrications Trial (Normal)
- Archdruid Devyric – Earthen Root Enclave (helmet) Urgarlag Chief-bane (shoulder)
- Oakensoul Ring –
- Igneous Inlays: High Isle – Volcanic Vents
- Larimar Gems: Stormhaven – Titanclaw World Boss
- Petrified Oak Loop: Murkmire – Strongboxes
- Sacred Resin: Malabal Tor – Any Monster
- Stone Shank Frame: Glenumbra – Blacksmithing Nodes
2-Bar Setup (Higher DPS & More Control)
Temporary Gear Alternatives
This build is designed around specific sets that provide both damage and group utility, so there aren’t direct replacements that offer the same balance.
However, while farming the main gear, you can use the following sets as temporary options:
- Tide-Born Wildstalker
- Order’s Wrath
- Law of Julianos
- Hunding’s Rage
- Wretched Vitality (One of my top Beginner Tank sets)
These will help you get started, but should be replaced with the main setup as soon as possible to fully realise the build’s potential.
Accolade Dragonknight Tank Skill Bars
 - The Tank Club")
 - The Tank Club")
 - The Tank Club")
 - The Tank Club")
 - The Tank Club")
 - The Tank Club")
 - The Tank Club")
 - The Tank Club")
 - The Tank Club")
 - The Tank Club")
 - The Tank Club")
 - The Tank Club")
 - The Tank Club")
 - The Tank Club")
 - The Tank Club")
Dragonknight Passives
- Ardent Flame: Combustion, Traumatic Burns, Fan the Flames, A Soul Ablaze
- Draconic Power: Burnished Scales, World in Ruin, Elder Dragon, The Storm Voice
- Earthen Heart: Heart of Stone, Landslide, Blessing at the Peak, Mountain Giant
- One Hand and Shield: Fortress, Sword and Board, Deadly Bash, Deflect Bolts, Battlefield Mobility
- Light Armor: Light Armor Bonuses, Light Armor Penalties
Grace, Evocation, Spell Warding, Prodigy, Concentration - Medium Armor: Medium Armor Bonuses
Dexterity, Wind Walker, Agility, Athletics - Heavy Armor: Heavy Armor Bonuses, Heavy Armor Penalties
Resolve, Constitution, Juggernaut, Revitalize, Rapid Mending - Undaunted: Undaunted Command, Undaunted Mettle
- Mages Guild: Mage Adept, Everlasting Magic, Magicka Controller
- Fighters Guild: Intimidating Presence, Slayer, Banish the Wicked, Skilled Tracker
- Support: Magicka Aid
- Racial: All
- Alchemy: Medicinal Use
1-Bar Build Skill Information (20k DPS)
Every skill in this build is chosen to do more than one job.
Instead of separating tanking, damage, and survival into different abilities, each skill layers multiple effects together meaning you’re always applying pressure while still fulfilling your role as a tank.
With the 1-bar setup, Oakensoul provides most of your core buffs, allowing your skill bar to focus entirely on utility, damage, and control without needing to manage additional buff skills or potion-based damage boosts.
Goading Throw
Your primary taunt and a core part of the build.
- Applies a ranged taunt
- Deals direct damage + damage over time
- Procs your weapon enchant
- Applies Major Maim, reducing enemy damage
This gives you a reliable way to control enemies at range while still contributing meaningful damage.
Burning Embers
Your main healing and sustain tool.
- Strong single-target damage over time
- Provides a direct heal + heal over time
- Activates Combustion passive for resource sustain
- Increases flame damage taken via Traumatic Burns
This skill is doing multiple jobs at once, damage, healing, and sustain making it one of the most important abilities in the build.
Chains of Dominance
One of the most important skills in the entire setup.
- Pulls enemies to you (core tank function)
- Deals flame damage and guarantees Burning status
- Applies Major Cowardice (reduces enemy damage output)
- Taunts untaunted enemies
- Grants Minor Brutality to you and your group
The key interaction here is:
When used on CC-immune targets (like bosses), the Magicka cost is fully refunded.
This turns Chains into a free damage skill, while also restoring resources through Combustion making it incredibly efficient in both solo and group play.
Razor Caltrops
Your main AoE debuff and damage tool.
- Applies Major Breach (essential tank debuff)
- Deals AoE damage over time
- Applies a snare to control enemies
- Activates Powerful Assault
This is a core skill for both group support and increasing your own damage output.
Binding Burst
Your primary crowd control tool.
- AoE immobilise for controlling groups
- Applies Minor Breach
- Adds another layer of AoE damage over time
This helps you maintain control in add-heavy fights while ensuring you’re consistently applying damage and debuffs.
Ultimate: Standard of Might
- Increases your damage done and reduces damage taken
- Provides a group buff to Weapon & Spell Damage
- Offers a powerful synergy for additional group damage
This ultimate reinforces both your personal survivability and your group’s damage output, making it the default choice in most situations.
Alternative Ultimate (Solo Focus)
For solo content, you can switch to: Shooting Star (Mages Guild)
- Higher burst damage
- Access to passives that increase sustain
- A better option when you want to push damage over group utility
2-Bar Build Skill Information (23k+ DPS)
Goading Throw
Ranged taunt that also applies Major Maim and deals solid damage, your primary engage and control tool.
Barbed Trap
Long-duration DoT that grants Minor Force and boosts DPS through Fighters Guild passives and Ultimate generation.
Chains of Dominance
Core utility and damage skill. Pulls enemies, applies Burning and Major Cowardice, and taunts untaunted targets. When used on CC-immune enemies (like bosses), the cost is refunded making it a free damage and sustain tool via Combustion. Also grants Minor Brutality to you and your group.
Resolving Vigor (Replaces Caltrops)
Used when Major Breach is sourced elsewhere. Provides strong healing, Minor Resolve, and procs Powerful Assault. Caltrops can still be used during add pulls for AoE Breach.
Power Slam (Void Bash)
Triggers the AoE pull from Void Bash. More efficient than spamming Chains and helps stack enemies quickly while dealing solid damage.
Barrier (Slotted Ultimate)
Not actively used. Slotted for 10% Magicka Recovery via the Magicka Aid passive, very useful for sustain.
Incinerate
Long-duration AoE damage skill that passively grants Major Prophecy & Savagery. Also supports sustain through consistent Burning procs.
Elemental Susceptibility
Applies Major Breach and constantly procs status effects (Burning, Chilled, Concussion). Enables multiple debuffs (Minor Maim, Brittle, Vulnerability, Off Balance) while also supporting sustain. Causes free damage.
Elemental Blockade
Maintains strong Crusher enchant uptime, reducing enemy resistances. Also applies Minor Breach to chilled enemies and provides group utility.
Shatterspike Mantle
Provides Major Resolve while also dealing damage over time. Improves heavy attack sustain through Mountain’s Blessing passive.
Burning Talons (Flex Slot)
AoE immobilise with fire damage and DoT. Great for add control, less useful in single-target boss fights.
Ultimate Choices
Standard of Might
Primary Ultimate. Boosts your damage, reduces damage taken, and increases group Weapon/Spell Damage. Also provides a strong synergy for additional group damage.
Shooting Star (Alternative)
Better for solo content. Adds burst damage, DoT, and Ultimate generation, along with sustain from Mage’s Guild passives.
Flex Skills
Heart of Flame
Provides healing, resource sustain, and AoE burst damage, useful in tougher fights.
Structured Entropy
Strong DoT with healing over time and additional sustain from Mage’s Guild passives. Great for boss fights.
Spiked Bone Shield
Adds a damage shield and reflects damage back to enemies. Also provides a group synergy for extra protection.
Consuming Trap
DoT that restores Health, Magicka, and Stamina on kill. Best used in add-heavy fights for sustain.
Best Class Mastery Passives for This Build
Because this is a Pure Dragonknight setup, you can take advantage of Class Mastery passives.
These passives fit the build perfectly, giving you even more value from your Ultimate usage through extra recovery, stronger group support, and more offensive pressure.
For this build, the best choices are:
Activating rank 2 of The Storm Voice grants you and group members within 28 metres Major Berserk, Heroism, and Protection for 1 second per 10 Ultimate spent, increasing damage done and reducing damage taken by 10% while also granting 3 Ultimate every 1.5 seconds in combat.
Activating rank 2 of The Storm Voice also grants 5 Health, Magicka, and Stamina Recovery for every Ultimate spent for 10 seconds.
Class Masteries are subject to change
Scribed Skills Setup for the Accolade DK Tank Build
These scribed skills are set up to layer damage, debuffs, and control into each ability.
- Shield Throw
- Taunt
- Lingering Torment
- Maim
- Soul Burst
- Immobilize
- Lingering Torment
- Breach
Champion Points for the Accolade DK Tank Build
Champion Points are focused on increasing damage while adding passive healing and sustain to support the hybrid playstyle.
How to Play the Accolade Dragonknight Tank Build
How This Build Plays
The goal of this build is simple: Tank everything while constantly dealing damage.
You’re not standing still holding block, you’re actively applying damage, debuffs, and control at all times. Every skill you use contributes to both survivability and DPS.
Basic Combat Flow
When entering combat:
- Goading Throw → Taunt, apply Major Maim and start damage
- Burning Embers → Apply DoT and activate healing/sustain
- Razor Caltrops → Apply Major Breach + proc Powerful Assault
- Binding Burst → Apply Minor Breach and immobilise enemies
- Chains of Dominance → Begin spamming for damage and control
From here, you’re maintaining debuffs while using Chains as your main damage tool.
Simple Boss Rotation
If you prefer a structured rotation, follow this: Goading → Embers → Caltrops → Burst → Chains x6 → Goading → Embers → Caltrops → Chains x7 → Repeat
Reapply your DoTs and debuffs as they expire
Use your Ultimate in place of a Chains cast when everything is active
Key Tips
- Weave light attacks between every skill (major DPS source)
- Use heavy attacks if you need Stamina sustain
- Recast Burning Embers for burst healing when needed
- Use potions at the start of combat and again when resources begin to drop
Add Pulls
- Initiate with Goading Throw and drop Caltrops
- Pull enemies in with Chains
- Immobilise and debuff with Binding Burst
- Stack everything tightly for AoE damage
Why I Still Use the Accolade Dragonknight Tank Build
With the Dragonknight rework, new Class Mastery options, and more solo-focused content on the way, this felt like the perfect time to bring back one of my most popular builds.
This is a build for tank players who want more than just survivability. You still get the strength, control, and reliability you expect from a tank, but now you can actually enjoy solo content, clear arenas, and push harder content without feeling limited by low damage.
The real strength of this build is simple: one setup that lets you do almost everything in ESO
You can move between solo content, dungeons, arenas, and trials without constantly swapping builds, while still doing your job properly in a group. You’re not a burden, you’re not slowing runs down, you’re contributing while staying durable.
I’ve personally used this build to clear dungeons, solo a 12-player trial, and complete no death veteran arena runs, and it’s still one of the most fun and flexible setups I’ve played.
If you want a tank build that actually lets you play the game without limitations, this is it.
Take Your Tanking Further
🔹 Try Another Class → Explore all ESO Tank Builds
🔹 New to the Role? Start with the Beginner Guide
🔹 Optimising Gear? Read the Tank Gear Guide
🔹 More ESO Content → Visit the ESO Hub
🔹 Playing on Console? See the Best MMORPGs for 2026
Want My Best Tank Builds Before Everyone Else?
Get early access builds, exclusive setups, and direct input on future content.
 - The Tank Club")