ESO Dreadsail Reef Trial Tank Guide
Welcome to The Tank Club’s ESO Dreadsail Reef Trial Guide for Tanks.
Dreadsail Reef is a DLC 12-person trial introduced with the High Isle Chapter (June 2022). It features three major bosses, each with individual hardmodes, along with two mini-boss encounters and several challenging add pulls between fights.
This trial requires precise taunt swapping, add control, and sustained resource management. The biggest challenge for tanks comes from fragility debuffs, boss enrages, and high-damage mechanics that require careful positioning and coordination.
This guide will cover tanking strategies, boss mechanics, and hardmode adjustments to help you conquer Dreadsail Reef.
✅ Need a good Tank Build for Trials? Check out our ESO Main Tank Build and ESO Off Tank Build
1st Adds
When starting the trial – Group wait/regroup on the small island prior to the main island because AoEs drop on the main island area.
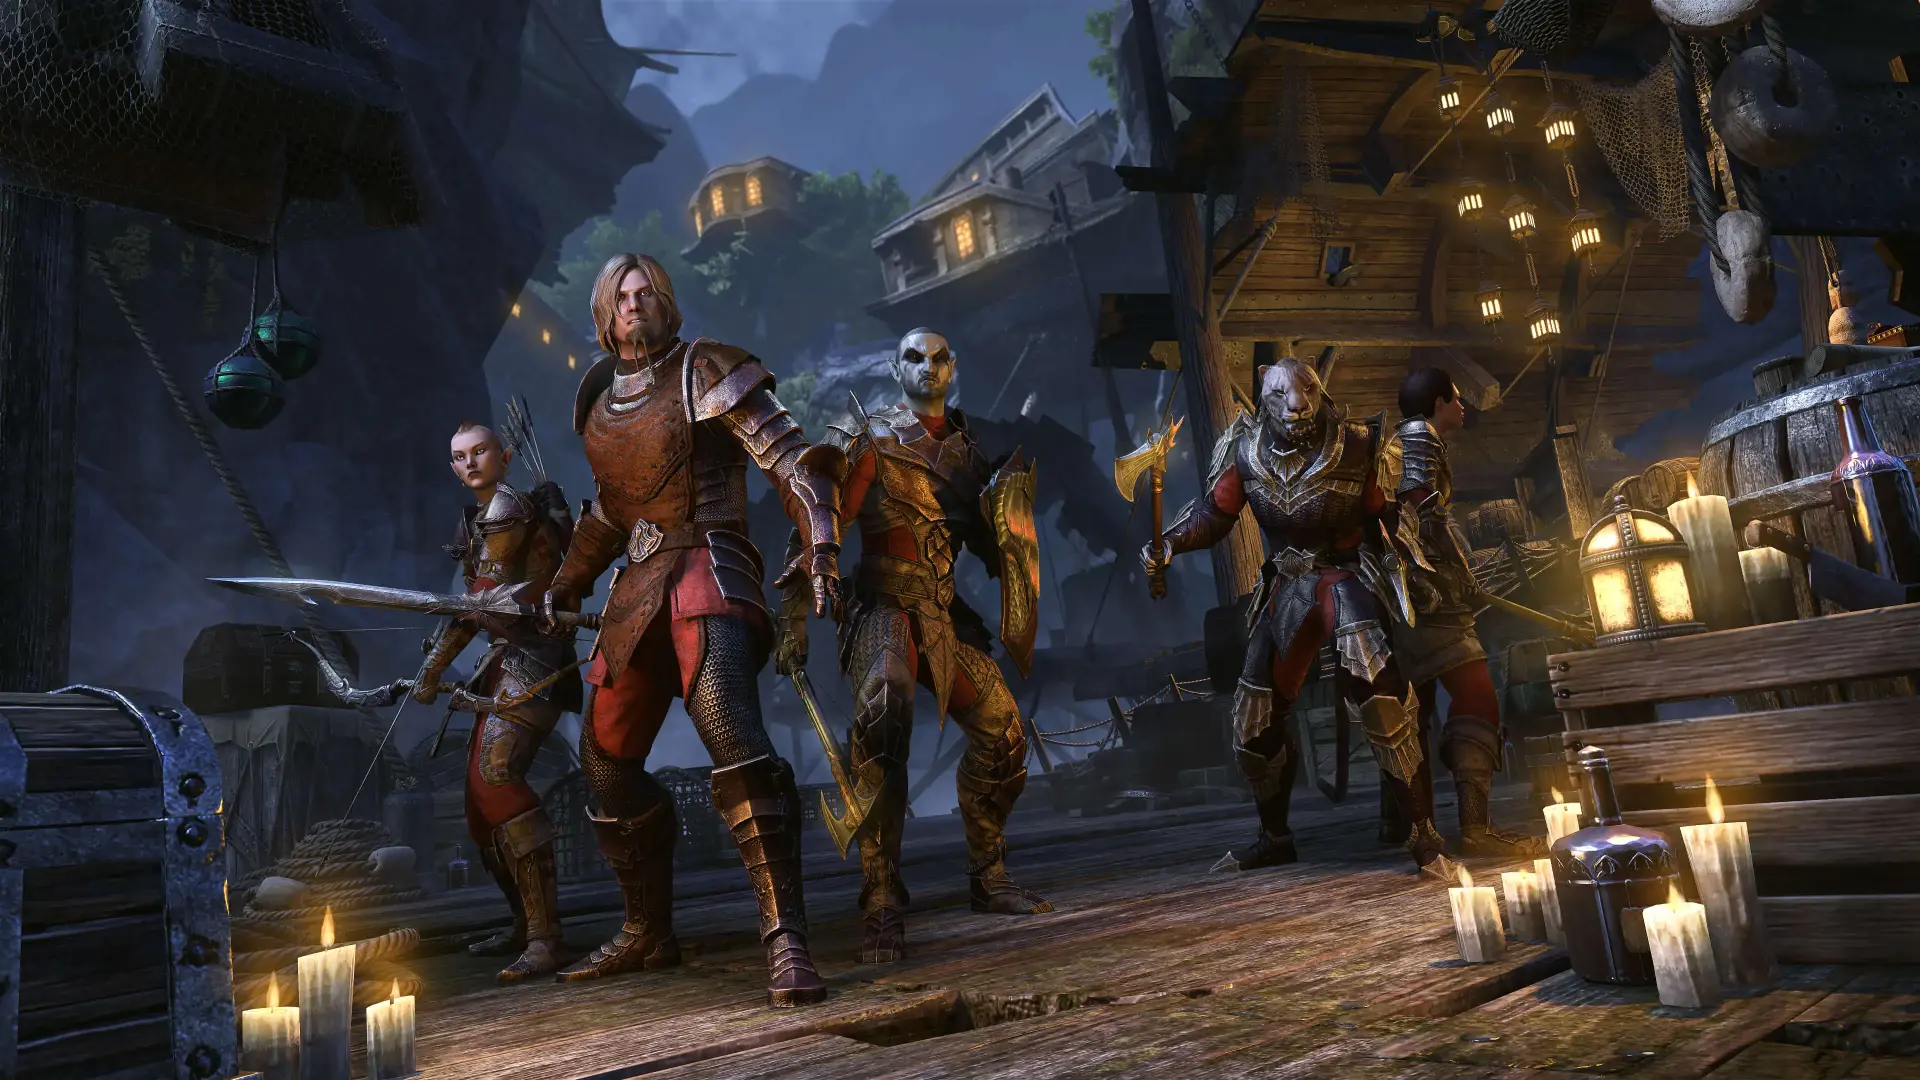
For all these first add pulls the Main Tank takes almost everything prioritising the “Flag” adds.
The group need to delay their run into combat behind the tank a little because the way the adds are stacked in some of these add pulls, they can be tricky to taunt immediately, especially the adds that run towards the group as you move closer to them.
As you go into combat, Main Tank taunts and stacks all flag adds, the group need to get close to them. The Off Tanks job is to make sure they are the furthest person away from the group because the Swashbucklers jump to the furthest person away and then drop taunt so if they jump to the Off Tank, they will get aggro of those adds and can bring them back to the stack at which point the Main Tank moves to become the person furthest away so if they jump again, the Main Tank now gets aggro and the group members don’t get killed.
During these first add pulls you make sure to block the heavy attacks rather than roll dodge. If you roll dodge the add becomes enraged which is particularly bad if it’s the Keelcutter as this add does a big AoE attack on the whole group.
Sometimes you’ll get a red target above your head which means you are being targeted with the dagger attack, just kite this backward in an S shape to overlap the AoEs. Don’t stand in them because it can 1-shot you.
On the final add pull, take the Reef Viper and stack it on the right Ranger. The Off Tank taunts the left Ranger and runs across the room to the right to stack it while the Main Tank chains in all the small adds.
Lylanar & Turlassil – Boss 1
Light Attack – This looks like a weapon hit but it’s actually elemental attack, so the Fire boss is doing a fire light attack and via versa.
Interrupt – The boss will channel an attack on the whole group that can be interrupted. You can only interrupt the boss if the correct aura is over the boss. As a Tank you typically won’t take the Auras since they have a ramping damage associated with them and you’ll already be taking plenty of damage. If you have no aura or the wrong aura over the boss, it can’t be interrupted. You also take more damage from this attack if you are stood outside of the aura when it does the attack, but it should be interrupted anyway.
Heavy Attack – This has to be BLOCKED. If you roll dodge the boss becomes enraged meaning the boss will do a lot more damage. If you take the heavy attack unblocked, you receive a big debuff to your resistances and have a increased damage received debuff applied to you. Blocking the attack will apply a healing absorption and your healers need to heal you back to full health to remove it and they need to do this quickly because you also have a increased damage received debuff applied to you meaning you take increased damage.
Cleave – The boss does a cleave which sends out 3 AoEs in the direction the boss is looking.
5x AoEs – Occasionally the boss will apply a DoT to the Tank and start dropping AoEs under the Tank. When you are in the first phase of the fight in the middle of the room, the Tank should make a U shape around the boss with the 5 AoEs and try to overlap them so they take up less space.
Tank Switch – The Tank with taunt of the boss gets a visual surrounding their body (and a debuff on your debuff bar) with a 10 second debuff. It’s a red visual around your character with the Fire boss and white visual with the Ice boss. This is the point where you need to switch with the Off Tank. You have 10 seconds to switch the boss over, once this debuff ends after 10 seconds you then get a 20 second debuff. You’ll notice 4 orbs floating through the air and eventually to your character – During these 20 seconds you are basically fragile to a certain element. So, if you were Tanking the Ice boss and get the debuff, you are now fragile to Ice damage meaning if you get hit by anything from that boss you’ll basically die.
These are the debuff icons you are looking for that signal the Tank Switch mechanic.
![]()
Adds – Atronach’s will spawn at 90% and 80%. Whichever Tank doesn’t have the main boss should take these. They will spawn around the edge of the room. The Atronachs will have elements which are the same as the Main boss so Fire Atronachs with the Fire Boss. The same rules apply here from the heavy attacks, you have to block them, and you get the same debuffs as you would from the main boss, and they enrage if you roll dodge the heavy attack. You also get a bleed from these when they light attack. If these adds take too long to be killed, they create two element tornadoes around themselves, these move around the Atronach and you have to kite them by circling around the Atronach. If you have the Tank Switch debuff on you and you have the Atronach, the tornadoes will pretty much 1-shot you if you stand in them. You’ll also get 2 Hounds spawn in at 95% and 75%.
Aura – If you are outside of the Aura, you take more damage. With both the Tank and the Boss inside the aura, you get 50% damage mitigation to the damage source of the boss so if you are fighting the fire boss and have the ice aura, you get 50% damage mitigation towards the fire bosses attacks and damage. This includes virtually all damage sources including any DoTs applied to you, any Light Attacks, basically everything, so your group need to maintain the aura right behind the boss so that it overlaps enough to give the Tank space to place the AoEs and deal with mechanics.
Boss Teleport – When the boss is damaged to 65% on 1st boss and 70% on the 2nd boss, they will begin to teleport to 4 locations around the room. It will be the groups job to get the interrupts on the boss during this phase. On the 2nd boss, you need to make sure as the Main Tank you track where it teleports and be ready to taunt as soon as it teleports the the last position. While the boss teleports it removes all effects including Taunt and it will aggro to the person who is getting the last interrupt, this person will usually die from 1 light attack from the boss so try to prevent that by instantly taunting once it reaches the final position.
Execute Phase
In the final phase of the fight, you will now have both bosses in the room at the same time. The safest way to play this fight is to position the bosses on either side of the room next to the relevant aura that is used on that boss. So take the fire boss to the ice aura and ice boss to the fire aura. Main Tank take the boss that was teleporting and position it. The Off Tank taunts the second boss which will appear in the middle of the room and take it to the opposite side. All the same mechanics apply here and there are no real additional mechanics for the Tanks aside from a few adjustments.
5x AoEs – so now with this mechanic, you should make an L shape with the AoEs, try to get them along the exit side of the room and then along the edge of the platform, this is to make space for the Tank-Switch mechanic and to give your group room to stand and attack the boss.
Tank Switch – One Tank will get the debuff here which means the Tanks need to switch sides and switch taunt of the bosses. You have 10 seconds from when the first debuff is applied, so make sure you’ve been healed from any Heavy Attacks and dealt with any additional mechanics before switching. You don’t need to use a gap closer or anything here, you just run over to the other boss, taunt it and hold it in position. It’s important to switch at a good time so the bosses barely move, if one boss runs across the room and then starts to channel its interruptible attack, it could be in the wrong location meaning it cant be interrupted because you have no aura over it or the wrong aura, someone might run over from the other group and cause an explosion when the two aura overlap, so its integral to time the Tank switch for a good moment potentially when the bosses are stuck in animations doing other mechanics.
Adds – Hounds keep spawning in during the execute. You should taunt all of the hounds that are in your area. If the hound is in the correct aura they will die almost straight away, still taunt the opposite hounds and then when you get the tank switch mechanic you can run them over to the other aura. If you wanted to make it extra safe then you could chain the hounds from the other side if they are in the wrong aura because they do an AoE attack which can can do a lot of damage.
Lylanar & Turlassil – Boss 1 Basics
Boss Basics
In a rush? This is what you need to know:
- Bosses are Turlassil (Ice/2H Sword) & Lylanar (Fire/2H Axe)
- Taunt the boss and turn it away from the group.
- Block all attacks – don’t roll dodge.
- Interrupt when the boss when it channels.
- Other Tank taunts all adds and brings them inside the aura.
- When being chased by 5x AoEs place them next to each other away from the group.
- Stay inside the aura.
- Tanks need to swap the boss when one Tank has fragility.
- Lookout for these icons for the Tank Switch
![]()
Left Side Adds
For these add pulls, you can quite easily just take all of them as the Main Tank.
If you wanted to make them a little easier then have the Off Tank take the Brewmaster and hold it at the front of the add pack to be focussed and also, so you don’t get stunned by the potions that the Brewmaster puts on the ground, these are purple AoEs that will make you shrink into a smaller character but you get stunned for a few seconds – when this happens you could easily be killed by other adds, so avoid standing in them. You can prevent these AoEs from being created if your group make sure no to use potions during combat with the Brewmasters, potion up prior to instigating combat.
It can be a good idea for the Off Tank to get the far levers and the Main Tank should get the front ones so you can instigate the next add pull and stay ahead of the group.
The bigger add pulls can be tricky to taunt everything fast enough alone so this is where the Off Tank taunting the Brewmasters can help while the Main Tank picks up everything else.
On the final add pull area – taunt and pull the 3x Dreugh around the corner as there is a lone Dreugh and the group can kill them in transition, make sure not to trigger the last add pull.
On the last add pull stack everything on the Sharpshooter in the water.
Left Side Boss Bow Breaker
This is a very basic mini boss. Main Tank simply faces it away from the group to prevent the group getting it by the conal cleave attack and the front AoEs that shoot out when the boss buries its head underground. Don’t try to move the boss, it rotates through mechanic animations and will barely move and then it will charge across the room, usually through the group stack.
The Off Tank takes all the small adds and just stacks them right behind the boss to die to cleave damage. Occasionally during the fight, small Crabs will appear, if the group are stacked properly, they should simply run into group and die to the cleave extremely quickly. If this doesn’t happen, you can crowd control them by having the Off Tank place Caltrops down to snare them and then ensure Elemental Blockade is on the ground then cast a few Pulsar to apply Minor Mangle and Chilled so they die faster and get immobilised.
The boss also does a Poison spit AoE that can land anywhere, it often goes under the boss and as the Main Tank you can stand in it for a short time.
Reef Guardian – Boss 2
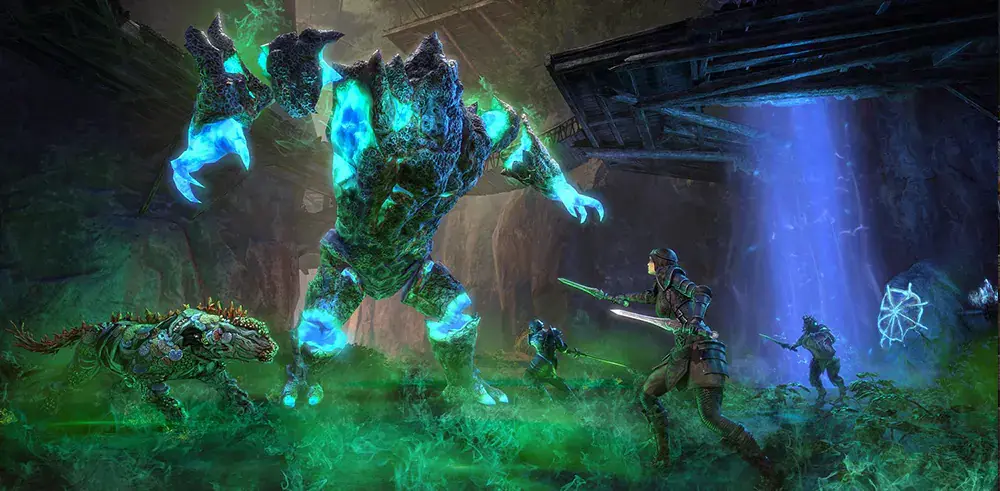
This is a very chaotic looking fight, but you can play a safer strategy that will make it considerably easier for the Tanks and the group. You have to be selective on which boss you focus and you can also make the Reefs easier to do by forcing the boss to run to a certain one, to do this you have to keep moving and transitioning as the fight progresses and make sure you stand with the bosses to the right of a particular Reef to make that the next one.
Two main things to note here is that you can stop the main boss mechanic, the Acid Reflux by switching taunt of the boss. If the other tank taunts the boss that is doing the Acid Reflux, it stops doing it.
The Acid Reflux is the poison cone that creates the AoEs under the Tank who has taunt. You must get out of the poison AoEs as soon as possible because the AoEs do damage, the longer you stand in them, the more poison damage you’ll start to take. 5 AoEs will drop from this mechanic but as mentioned already, if the Tanks trade taunt of whichever boss is doing this, it will interrupt the boss from doing the mechanic and this fight becomes considerably cleaner when that happens.
The second main mechanic is the Lightning damage. You’ll be gaining constant stacks of Lightning as the fight progresses and you need to go and cleanse this by walking near the plants located in various areas of the room. The way this fight is done with us constantly moving, we should be walking over a cleanse area quite regularly and if the lightning stacks gets too high, when you switch taunt of a boss with the other Tank then quickly go and cleanse.
Each time a boss runs to a Reef this will make 2 adds spawn into the fight next to that Reef – a Coral Drift Senche and a Coral Drift Bear. The Bear especially should be taunted first as a priority followed by the Senche.
With the Reef mechanic, if your group fail to complete a reef, the whole group dies.
1 – Pull the Big boss over to the Crown Reef. The reason why is because if your reef runner does Crown first they can they stay in the reef and also get the next one. This helps you maintain damage in the main boss area because you are not losing multiple people at a time to doing the Reefs.
Hold the boss around this reef, once the boss does the Acid Reflux(Poison Cone) – get the Off Tank to taunt it, this will stop the boss doing this attack. You really need to use taunt sparingly here because you’ll easily get Taunt Immunity triggering. You need to push damage on the big boss until the medium boss spawns in then stop.
2 – Medium Boss is created when the Big Boss hits 80%. Whichever Tank does not have taunt of a boss now should take this one. The group again should focus damage on this boss until it hits 50% and creates a Small Boss. The Big Boss at this stage will trigger the first Reef.
3 – You need to Tank the bosses near to the wall side of the room to give your group space to move and cleanse. At this stage you should have kited backwards and be close to the Chalice Reef. The group should be pushing damage on the Small Boss and cleaving the Medium Boss – you need to kill both of these.
4 – The Medium Boss will likely run to Chalice Reef next. The Big Boss will be back in the fight soon and the group should be damaging the Small Boss. Now the Medium Boss is doing the Chalice Reef, you need to take the small boss past it so you are moving closer to Cross Reef and you need to try and hold the Small Boss still to try and kill it. If you have high damage here to can kill the Small Boss or else it will run and trigger Cross Reef.
5 – If the Small Boss runs off to Cross Reef, you can do some damage to the big boss but you want to stop damage at 60% because you don’t want to create another boss yet. If you are in a high damage group then you could push & kill the Big Boss at this point, just hold it still and burn it. If you are not in a high damage group, take the Big Boss past Cross Reef and wait for the Medium Boss. Once the Medium Boss comes back into the fight – kill it.
6 – Once the Medium Boss is out of the fight, push the big boss to 50% to spawn the second Medium Boss. At this point if it’s not killed the Big boss will likely walk off to Skull Reef and the group should focus and kill the Small Boss that returns to the fight from Cross Reef. Once the Small Boss is dead, push the second Medium Boss now to 50% to create a second Small Boss. Make sure you are kiting the bosses backwards along the wall and you are now past Skull Reef.
7 – The second Medium Boss will run off to Anchor Reef, take the bosses past Anchor Reef and push damage on the Small Boss and once the Big Boss finishes on Skull Reef you can kill that also. Small Boss might run off to Wheel Reef and you just kill Big Boss here. Medium Boss will finish on Anchor Reef, you can hold it still and burn it here and finally Small Boss will finish on Wheel Reef and you can kill that there also.
Reef Guardian – Boss 2 Basics
In a rush? This is what you need to know:
- Taunt the boss and turn it away from the group, hold it near and facing the outer wall.
- Start on the right of the Crown Reef and each time the boss goes to the reef, move to the next one.
- Make sure to taunt the 2 adds that spawn each time a boss goes to a reef.
- Kite the poison AoE or switch taunt with the other Tank.
- Cleanse your lightning DoT by walking in the poison AoE.
- Between the two Tanks decide which bosses you’re going to take.
- Push Big Boss to 80% – Medium Boss Spawns
- Push Medium Boss to 50% – Small Boss Spawns
- Focus Small Boss & Medium Boss & try to kill both
- Push Big Boss to 50% – try to kill Big Boss – Medium Spawns
- Push 2nd Medium Boss to 50% – 2nd Small Boss Spawns
- Kill All Bosses
Last Adds
DO NOT go through the door after the Reef Guardian until everyone is ready to go and waiting by the door. This is so you don’t aggro two add pulls at the same time.
These are the more challenging add pulls now. The reason why is because you are on a platform and if you fall off then you die, so you have a much more limited area to use and a lot of adds to contain.
The new add you will find here are Overseers. These adds are particularly problematic because they are the only add in vDSR where roll dodging the heavy attack is actually useful. If you fail to roll dodge the Heavy from the Overseer it will kick you across the room and turn you into an ice shard with its next attack, it’s extremely easy to be kicked off the platform when this happens so it’s important that you avoid the kick. You can block the heavy attack and roll dodge the next attack instead as that achieves the same goal and the big boot always happens after the heavy attack.
The first add pull here is a tricky one because you’ll instigate combat with 2 add pulls at the same time if anyone went through the door and you didn’t immediately start the pull. If you just get one add pull at a time, you taunt all the flag adds and hold them off to the left side of the platform so you don’t aggro the next pull. If you do pull both at the same time – One Tank should taunt the Overseer and Brewmaster and run down the ramp and hold them behind the group, the other Tank runs ahead down the ramp and picks up the Brewmaster, Swashbuckler and Keelcutter. The group focus the Keelcutter and Brewmaster and the Swashbuckler should jump between the 2 Tanks as long as the group are in between the 2 sets of adds. Once the Keelcutter and Brewmaster die, group turn and focus the Brewmaster & Overseer.
The next add pull the Main Tank picks up the Overseer and Keelcutter and stacks them on the Sharpshooter. The Sharpshooter has an interruptible here.
Next pull is 3 Serpent Callers, taunt all 3 and stack them together.
Before the last add pull there is a wandering Swashbuckler and then you’re onto the final add pull. This add pull is one of the most challenging in the whole of ESO because there are just so many priorities adds and various mechanics happening at the same time.
One Tank should go left and take the Overseer, Keelcutter and stack them on the Sharpshooter. It’s possible they might need to also taunt a Swashbuckler that is walking around the platforms also. The other Tank goes to the right and takes a Serpent Caller, Brewmaster and a Swashbuckler, they may also have to take the other Swashbuckler that is walking around as mentioned before. You want the Tanks to be stood on either side of the platforms here with their respective adds with the group in-between to prevent the Swashbucklers jumping into the group.
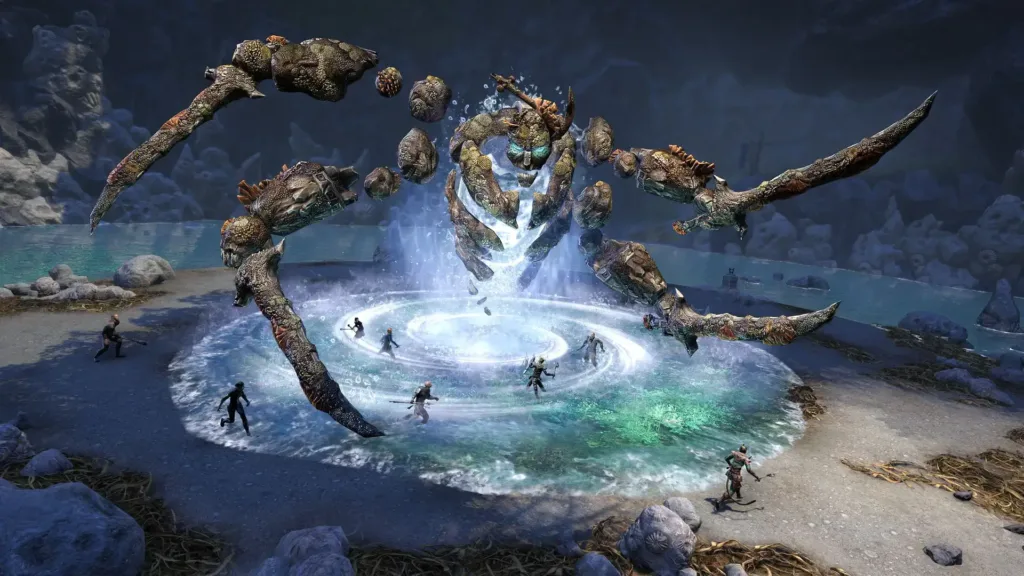
Tideborn Taleria – Boss 3
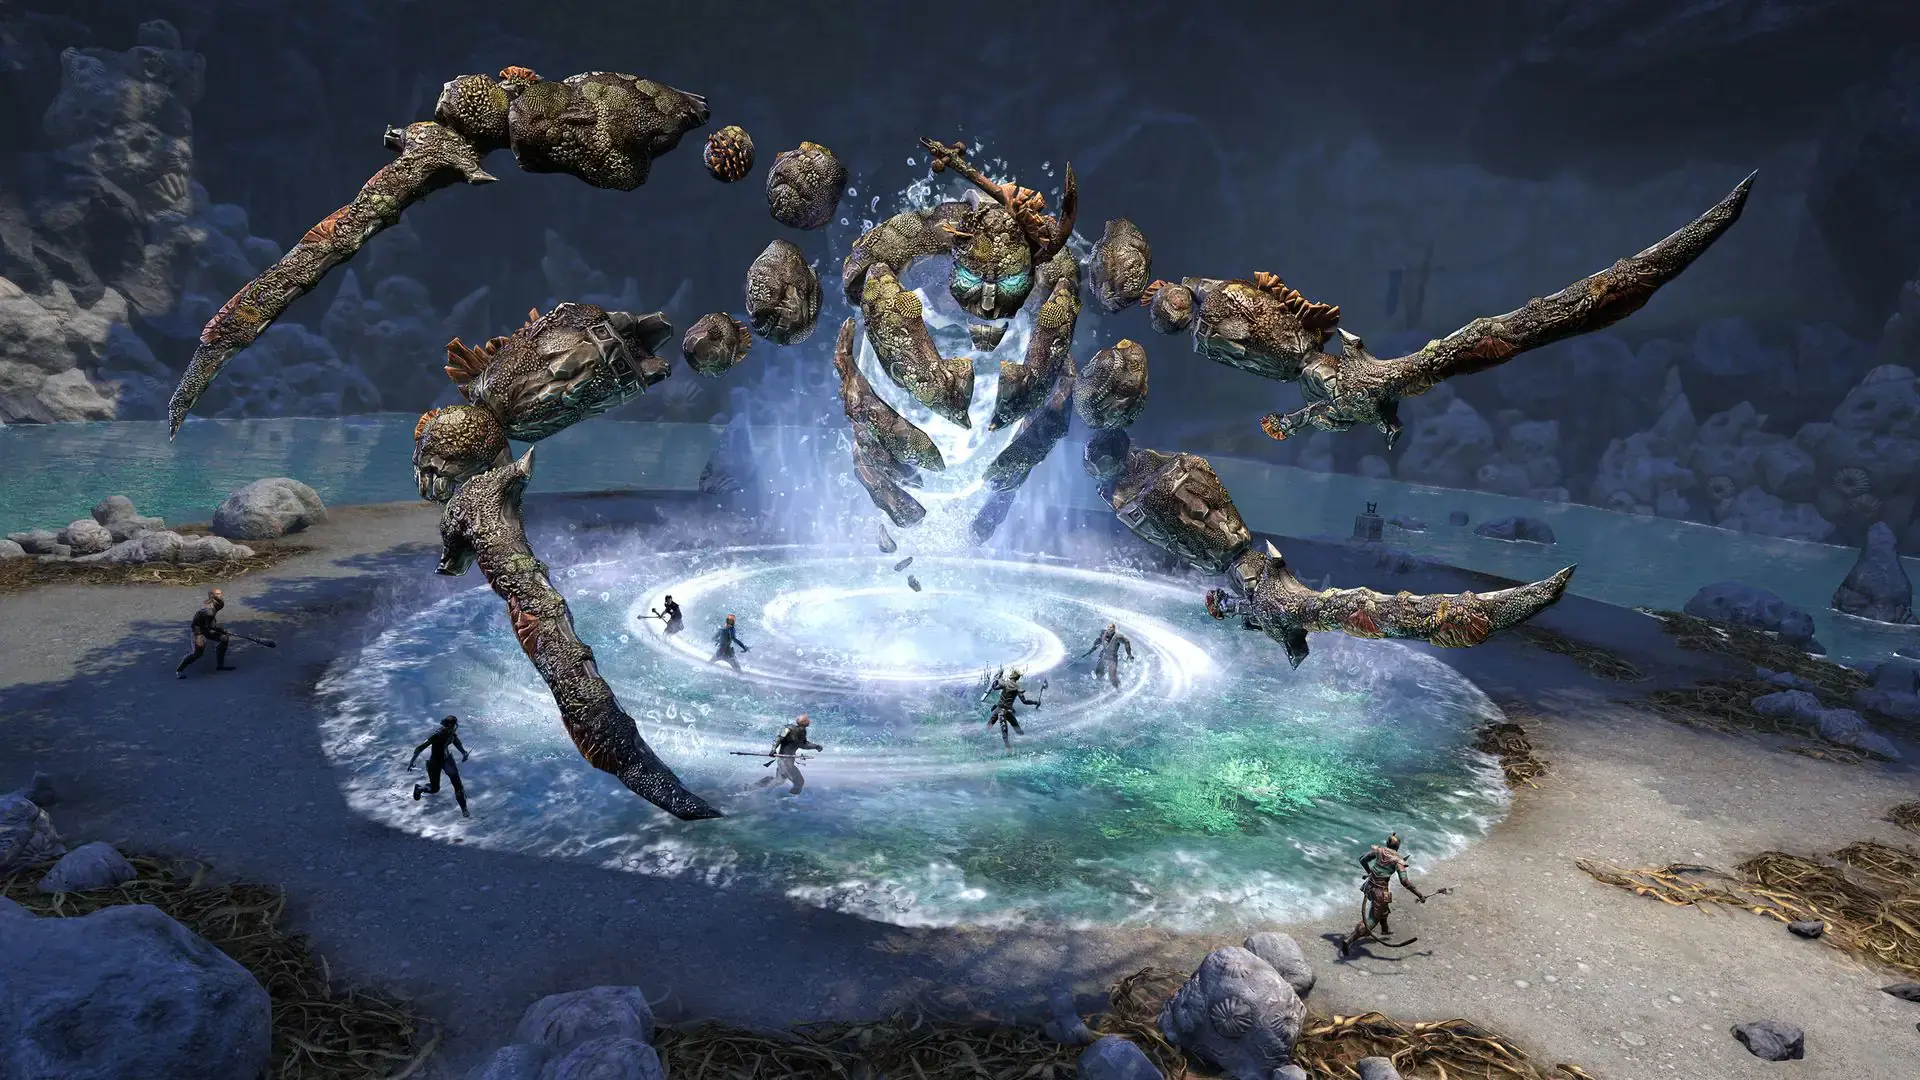
For the Tanks this is actually a fairly basic fight but the difficulty is managing resources and making sure you are being healed enough by your healers while in transition. Positioning is very important for this fight also.
Light Attacks: The boss light attacks in a frontal cone. You can see a faint line on the floor with each light attack. The group needs to stack really tight together so the Main Tank can stand off to the right of the group and position the cone so it’s not hitting the group. Each time the light attack hits, it hits twice with physical and cold damage and also applies a damage over time.
Soaked Wound: This is the Damage over time that gets applied to the Tank and each attack will refresh the timer of the DoT.
Heavy Attack: If you block this you need over 40k Health because it hits hard. You get hit twice if blocking it even though it looks like 1 hit its actually 2. Ideally you just roll dodge it because you’ll take a huge amount less damage. When you roll dodge it will create a big AoE on the ground near you so make sure you roll to the right and away from the group so this AoE doesn’t hit them.
Maelstrom: This is where the boss spins around doing damage to the whole group. This is your opportunity as the Main Tank to regain your resources here. If you go and stack with your group you can drop block to regain Stamina and also cast Balance to regain Magicka. As soon as you see the boss stop spinning move quickly back to position or else the boss will hit everyone with the Light Attacks.
Deluge: You won’t get this as the Main Tank but the Off Tank may get it. When you see the bubbles above your character, you have to wait a few seconds and then you need to get into the water around the back of the room. You need to make sure your character is in the swimming animation when it explodes. If you don’t get into the water it will explode and hit your group likely killing them. While in the water you take damage from the slaughterfish so you don’t want to jump in too early. If you are the Off Tank and you get Deluge while you have a Behemoth alive, you need to call it out and run away from your group, don’t go into the water or the Behemoth will likely kill you.
Under The Boss: Don’t touch the water under the boss as this applies a large DoT to your character.
Crashing Wave: There will be 3 red AoEs on the ground and the Main Tank will always get a wave on them. You can roll dodge this to take less damage. If you are not blocking you get knocked back. If your group stand near you as Main Tank when this happens they get 1-shot but they can’t see the AoE on the Main Tank. When dealing with this mechanic make sure you move it away from the group.
Winter Storm: This is a wall of tornadoes that move around the room. For a brief few seconds once it first appears you can roll dodge through it, so as the Main Tank you might have to do this so prevent you from having to run the whole length of the room to catch up again with your group. The wall can move either clockwise or anti-clockwise, sometimes as the Main Tank you’ll be chasing the wall and you need to maintain playing all other boss mechanics while chasing the wall but you also need to make sure to still maintain the gap between you and the group. This is where it is difficult for the healers to heal you. While running it can be helpful to intermittently block – making sure you block the light attacks and then drop your block for 2s before the next attack so you have enough speed to run and move. If the wall goes the other way you’ll be running after your group and you’ll be getting chased by the wall, so your group need to move quickly to give you space or else they’ll get hit by a lot of main boss mechanics. Ideally you don’t want to kill your group members but if people are too slow and you’re going to be hit and killed by the wall you have no option but to run over them with the boss mechanics to prevent yourself from dying.
Adds:
Behemoths – These spawn once every 60 seconds. The Off Tank should taunt them and place them in front of the group. They will occasionally do a very exaugurated AoE attack that will 1-shot anyone stood inside. It also stays on the ground until the Behemoth dies so the Off Tank should position it facing to the left to drop the AoE out of group and away from the Main Tank. Once the AoE drops, the Off Tank switches and Tanks it to the right and it should be killed by this point. Multiple Behemoths can be active at the same time if the group don’t kill them fast enough.
Sirens – These usually start to spawn after the Winter Storm. 2 of them spawn at a time around the back edges of the fight area. The group should focus these as a priority, if they are not killed they can target people in the group and pull them into the middle of the room in the water under the main boss with does a lot of damage. You can break free from this. Sometimes the sirens are behind or near the Main Tank. When this happens its usually safer for the Main Tank to move slightly to allow the group to reach them and do damage.
Mages – During this boss you’ll get portals at 50%, 35% and 20% where your Damage Dealers will go and attack one of 3 mages. When they complete the portal the mage will enter the main fight. You can get one of 3 possible mages and each one has an aura around it that will be Purple, Yellow or Green. The Purple mage will reduce the healing of anyone inside the aura, the Yellow Mage will reduce movement speed and the Green Mage will reduce all of your max stats and recoveries. The Off Tank should taunt these and the group need to focus them. As the Main Tank you should be able to escape the aura.
Tideborn Taleria – Boss 3 Basics
In a rush? This is what you need to know:
- Taunt the boss and stand to the right of the group.
- Roll dodge the heavy attack.
- When the boss is spinning around, go into the group, use this time to rebuild resources.
- With the tornado wall, intermittently block while running making sure to chase the wall.
- When you have a AoE attached to your feet, count to 3 and roll dodge.
- Don’t go under the boss.


